I said it before, and I’ll say it again … I hate my Caravaggi Bio 150 chipper/shredder implement for the BCS tractor.
The designer should share a prison cell with Bill Cosby. 😉
Yet again, it tipped over and damn near squashed Hooey and I trying to attach it to the BCS tractor.
I spent about half the day working through how best to station the damn thing in the ‘wood processing’ pasture out by the burn pit.
Ended up using two coyote trap anchors, pounded down about 18″ into the ground, to permanently mount the P.O.S. chipper/shredder such that it won’t tip over in the future. If it does, it will become the world’s most expensive shotgun slug target. That’s ALL I’m saying.
I have a rather ambitious set of goals for this pond project. I want it to be modest in size in terms of surface area, but DEEP.
My intent is to include the necessary infrastructure to ensure the pond is clean, clear and pretty much drinkable. Because of all the NC clay and silt, ponds tend to look like chocolate milk around here. But not mine! I plan to have at least one sump pump, organic water filters, sediment control, and a constantly flowing stream feeding the pond.
For now, it’s all about excavation. I’m working my poor Mahindra 1526 to death, using a front loader to do excavation work, which it really isn’t designed for, but I’ve figured out a system of progressive excavation that seems to get the job done without overtaxing the loader.
I hope to get the “deep end” down to about 8 feet deep. That should suffice for raising catfish, bass and maybe bluegill or some other pan-fish.
I’m expecting a lot from this pond, so the burden in upon ME to do the necessary research to design it right. Sounds like fun to me. 😉
For one reason or another, I waited WAY too long to muck out the chicken (coop) stalls. The longer I pushed it out, the easier it became to find other things to do. However, the weather is starting to warm up, so I figured NOW was better than a week from now.
Admittedly, I was pleasantly surprised. When I let the donkey stall go a week or more “too long”, the price to pay is HIGH. Donkey urine just gets funkier by the day. However, the excessive chicken manure wasn’t stinky at all. Rather, it seems to have basically composted in place!
So, I filled the dumper/trailer with chicken compost and shoveled it right into the two perimeter gardens that surround both rabbit domes. Not saying this is a good composting strategy … but in the colder months, you can get away with a little bit of coop mucking procrastination. Now, in the hot months … forget it. It would be a fly haven.
Once I got all the compost shoveled into the two rabbit dome gardens, I was just a matter of firing up the BCS tractor and tiller to plow all that chicken compost into the garden soil.
I’m chomping-at-the-bit to start planting stuff, but I know damn well the chickens will just destroy anything I seed … so I need to either:
fence in the gardens, or
fence in the chickens!
Smart money would be to build a bunch of chicken ‘tractors’ and end their free-ranging days. Kill many birds with one stone (as it were).
I’m highly motivated to get the 5 ducklings out of the barn and into their duck pond enclosure. They are really messy and can really stink up the barn, so OUT they go! 😉
I plan to build a much more elaborate duck house once I get the big pond done later this year. For now, I converted a dog crate into a temporary duck house by building a raised platform beneath, a cover for the top, thermal insulation on the top and two sides, and adding an access ladder to the duck can waddle their cute (but stinky) little butts directly from the pond to the house, and back.
Interestingly enough, I put the ducks in the house and locked it for about an hour. Then I opened it so they could go play in the pond. But, 2 or 3 hours later when I checked, they hadn’t left the house. That’s odd. I’m guessing by morning they’ll be ready to hit the beach.
Converted an old dog crate into a covered, thermally insulated duck house that should suffice through Fall.
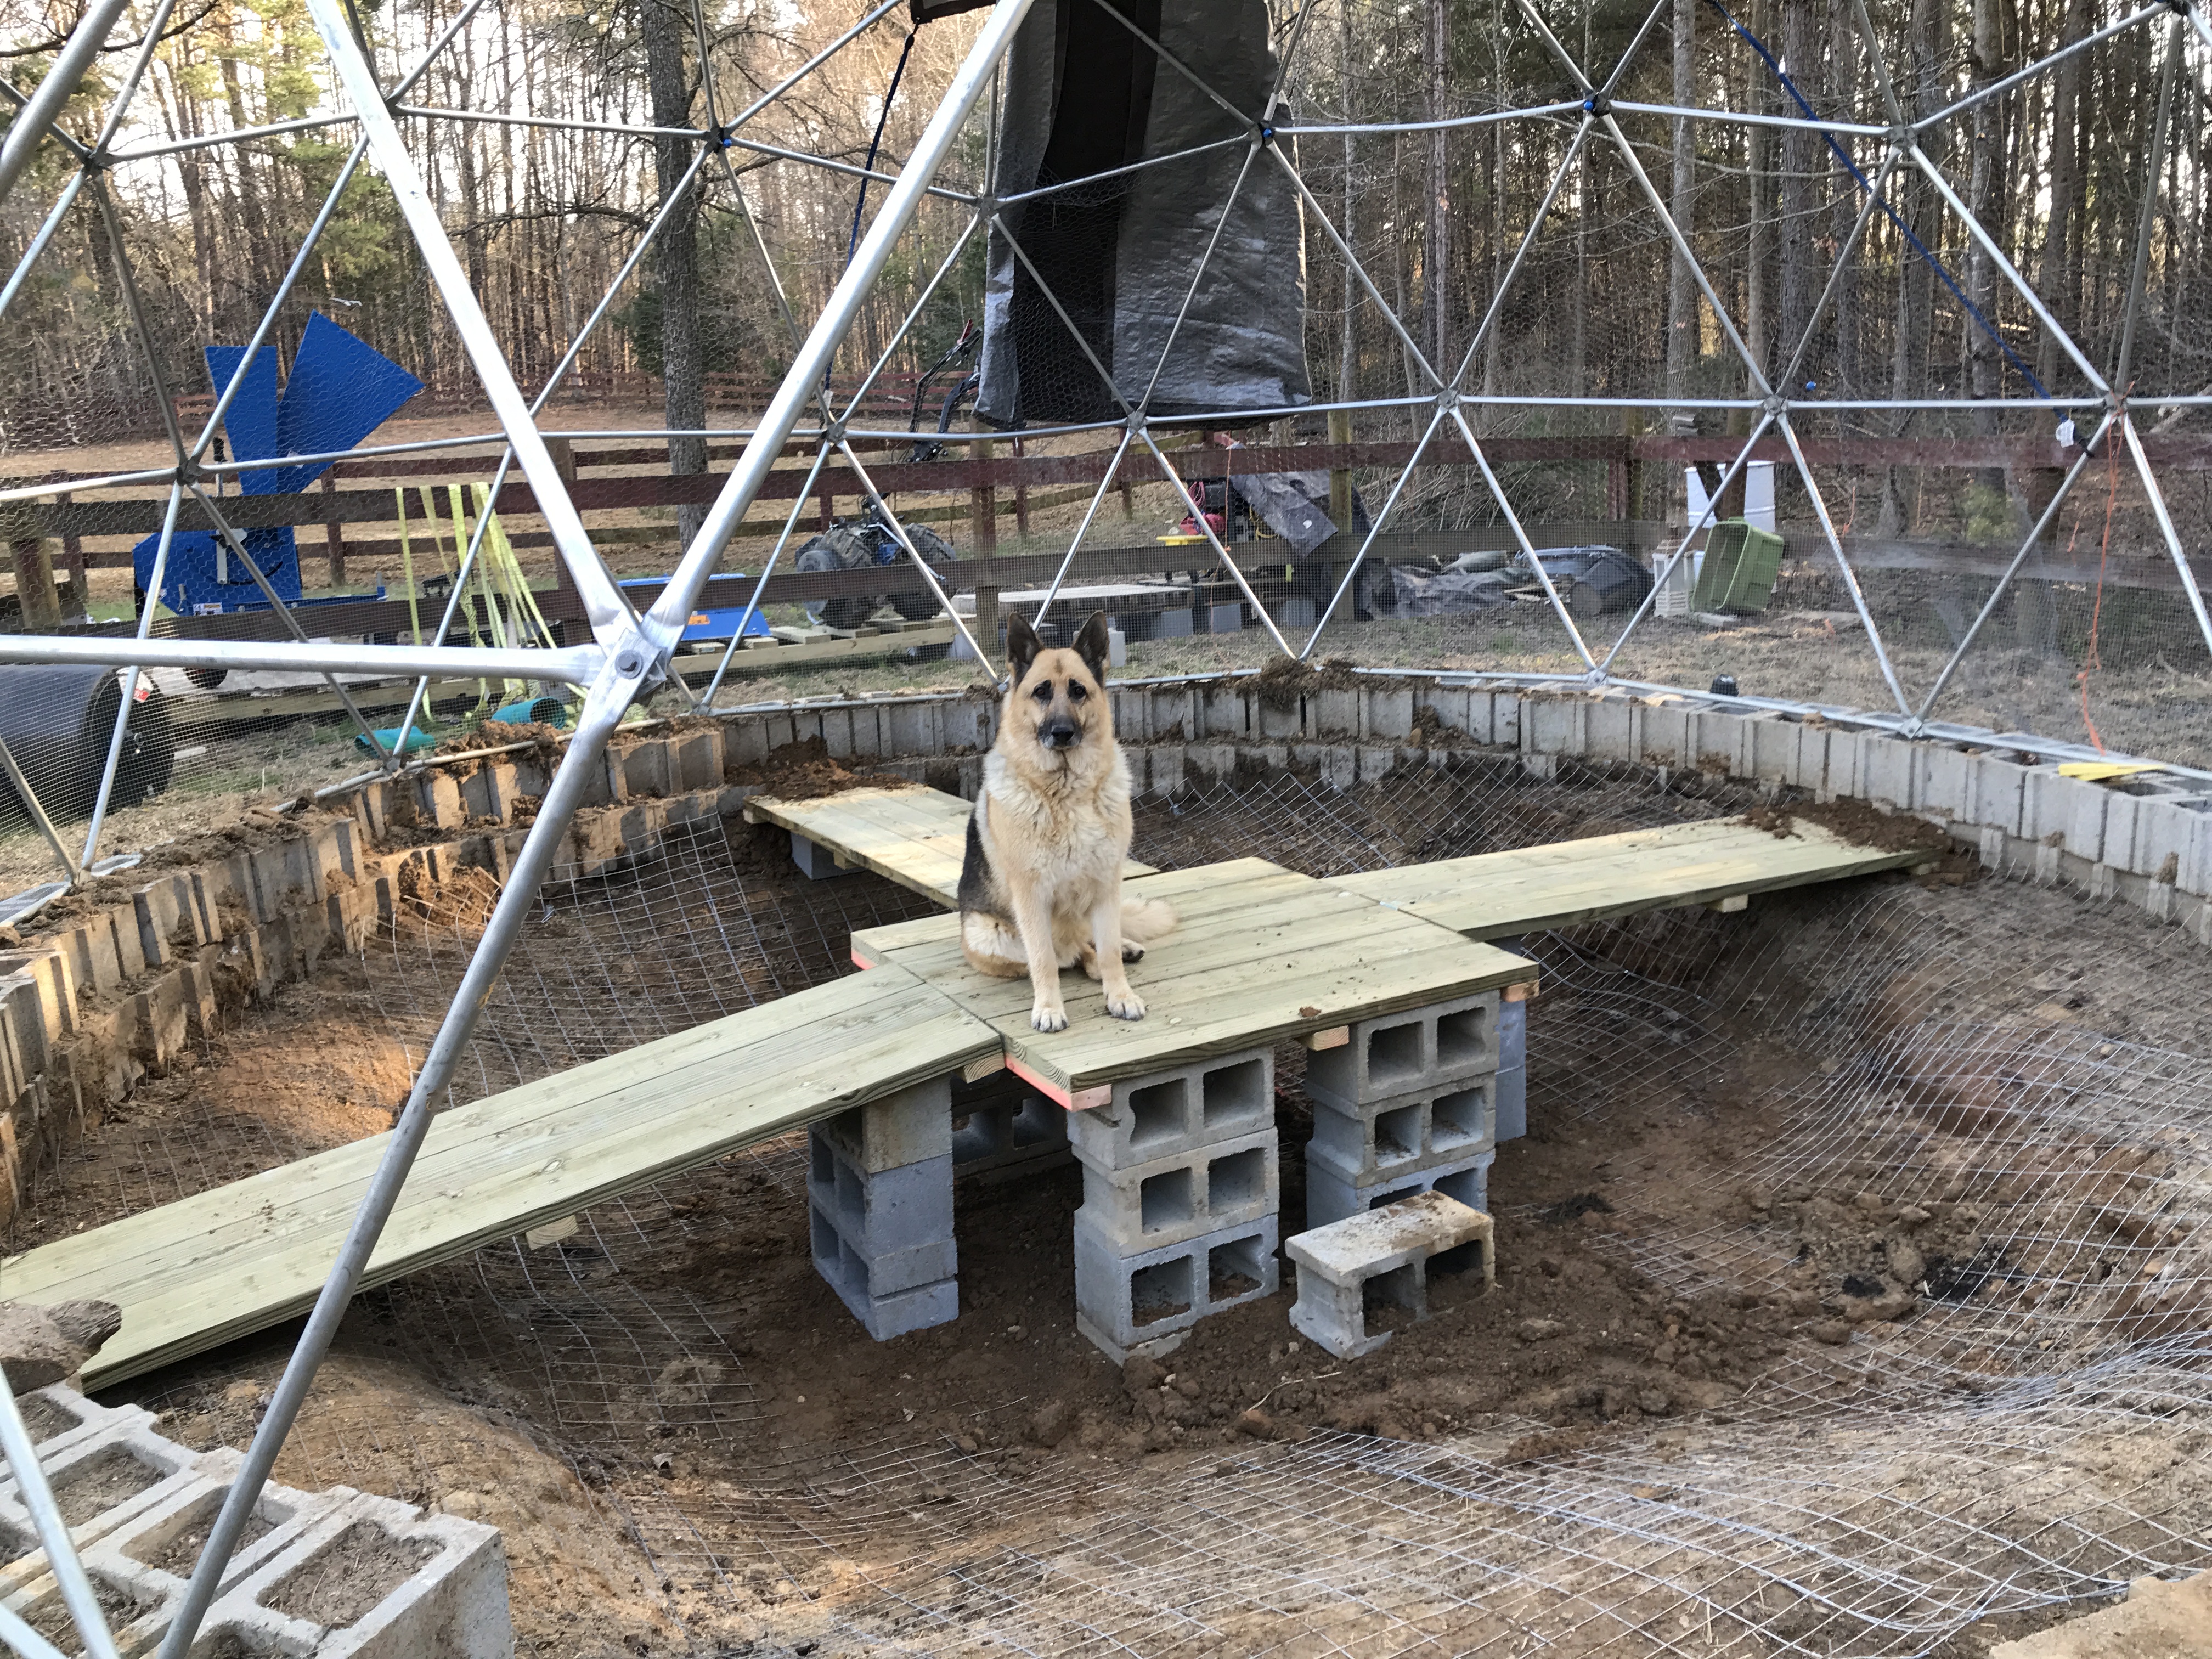
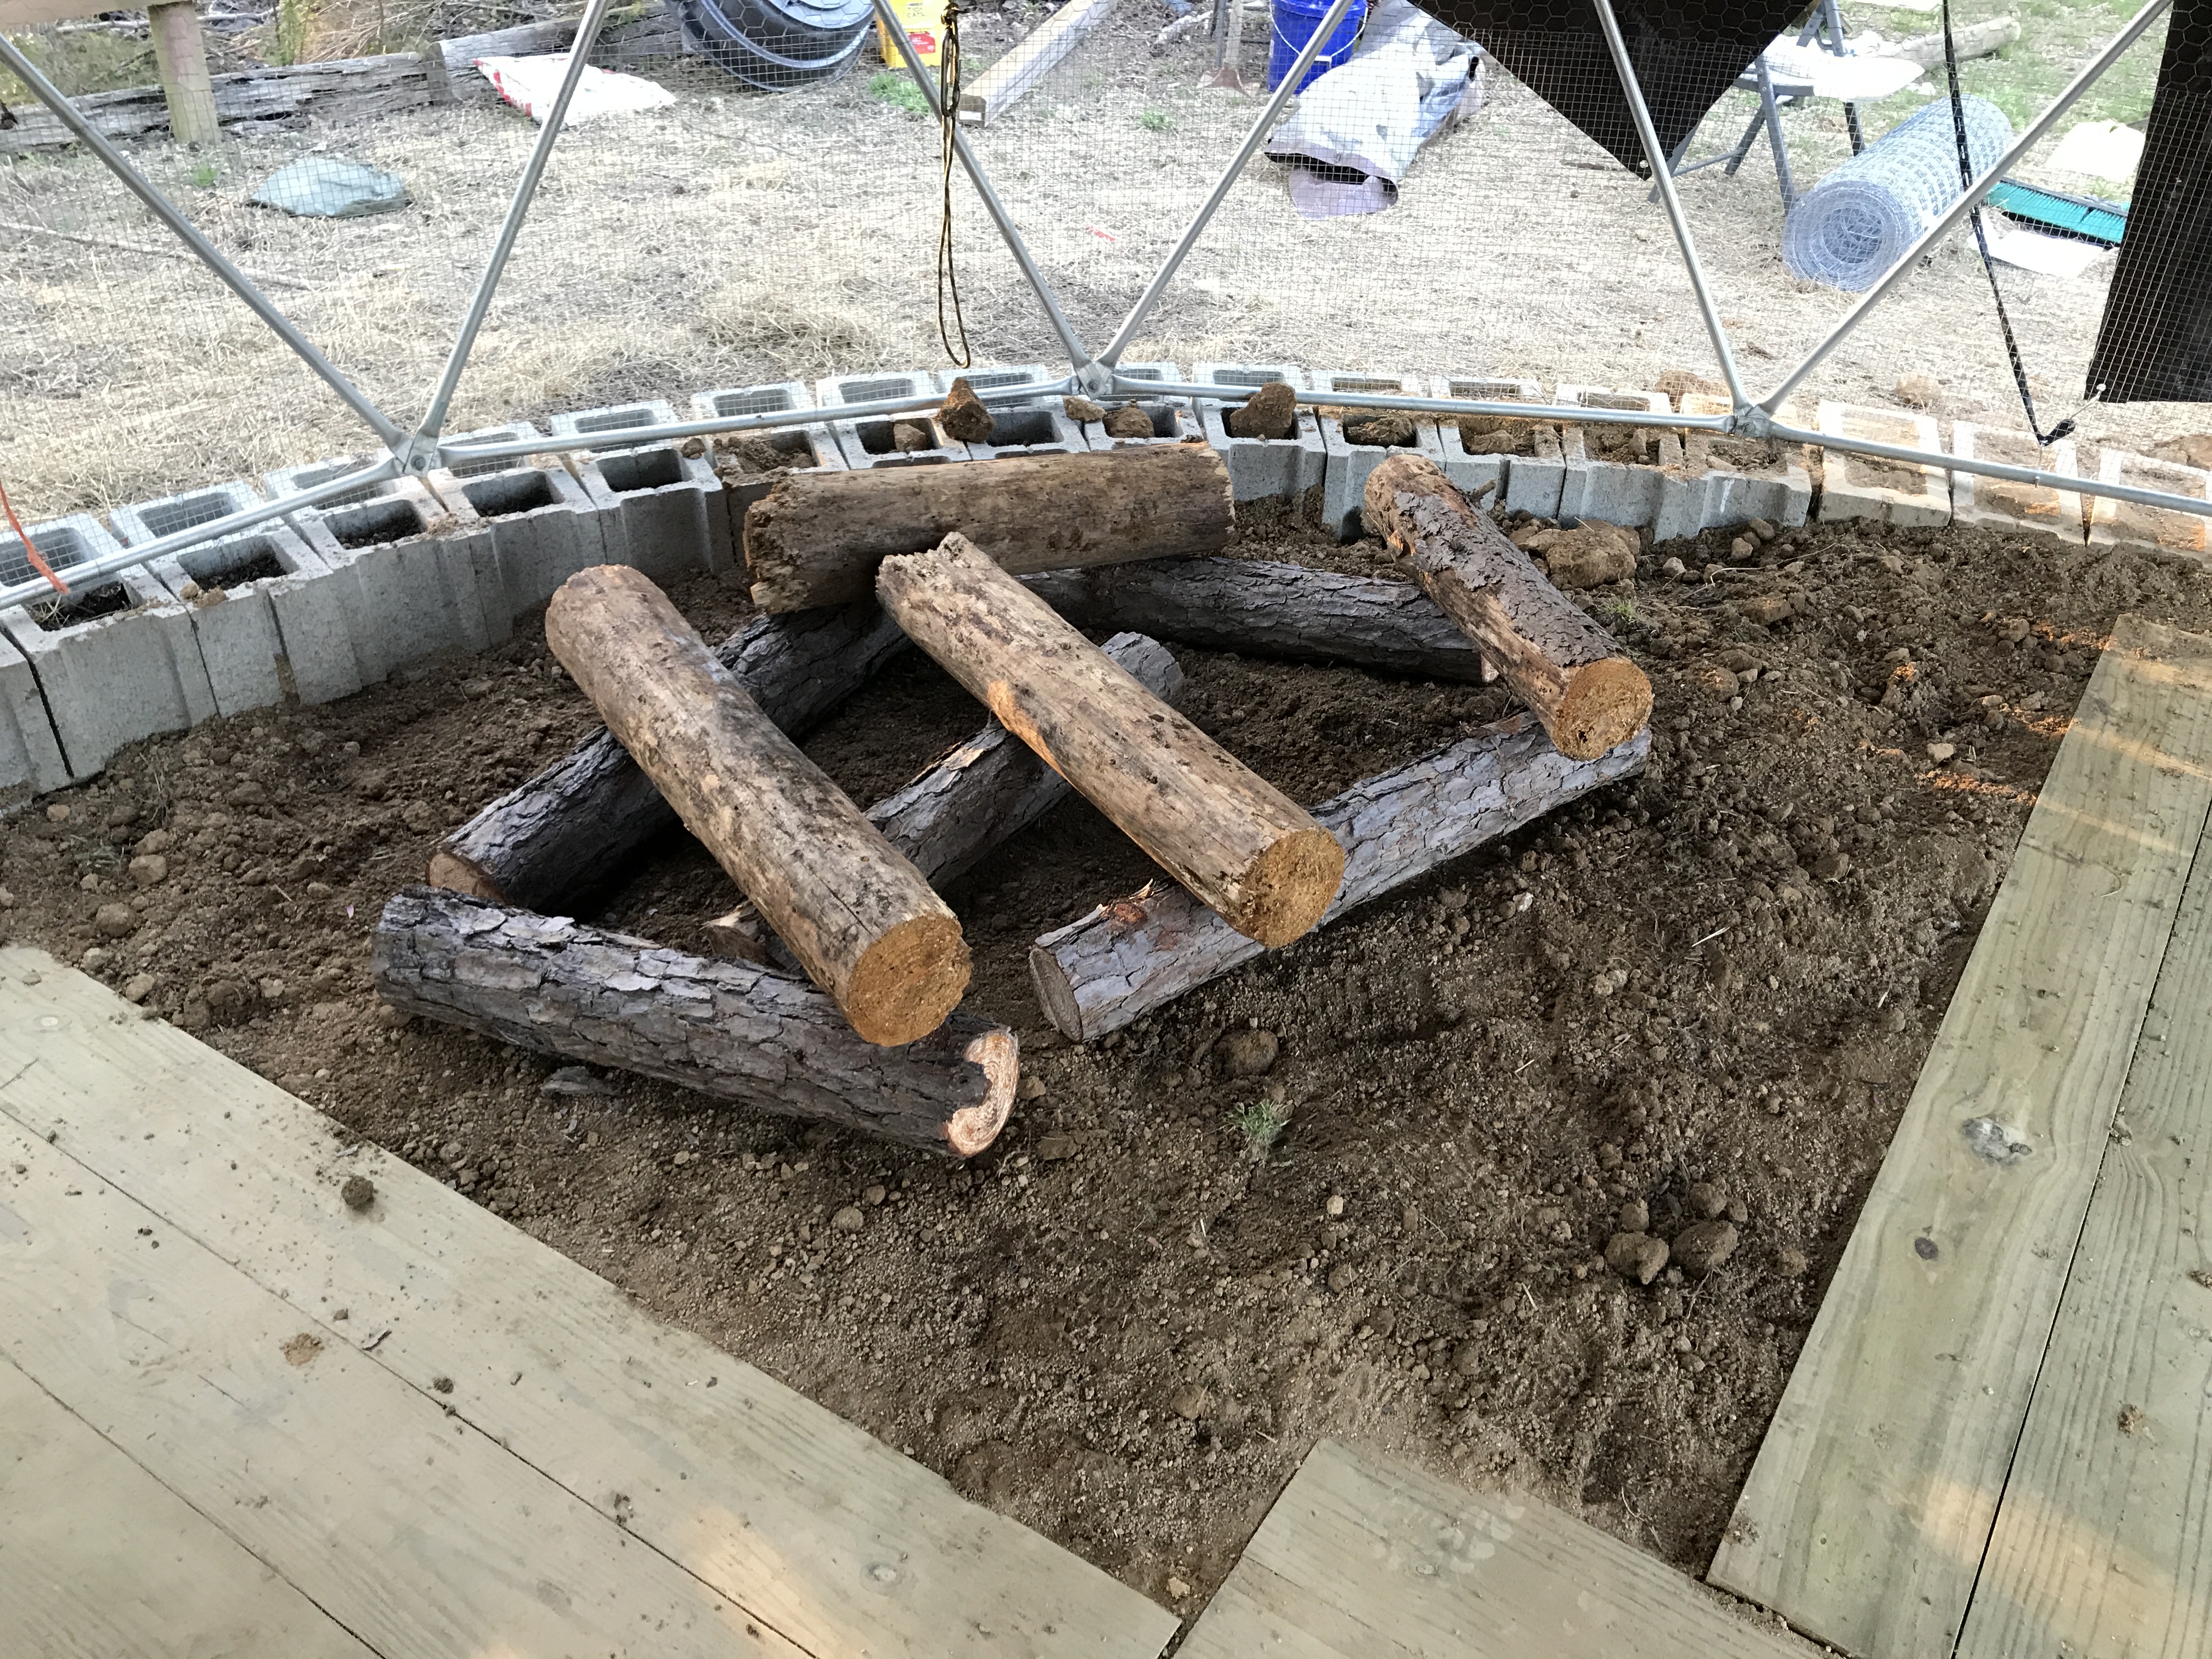
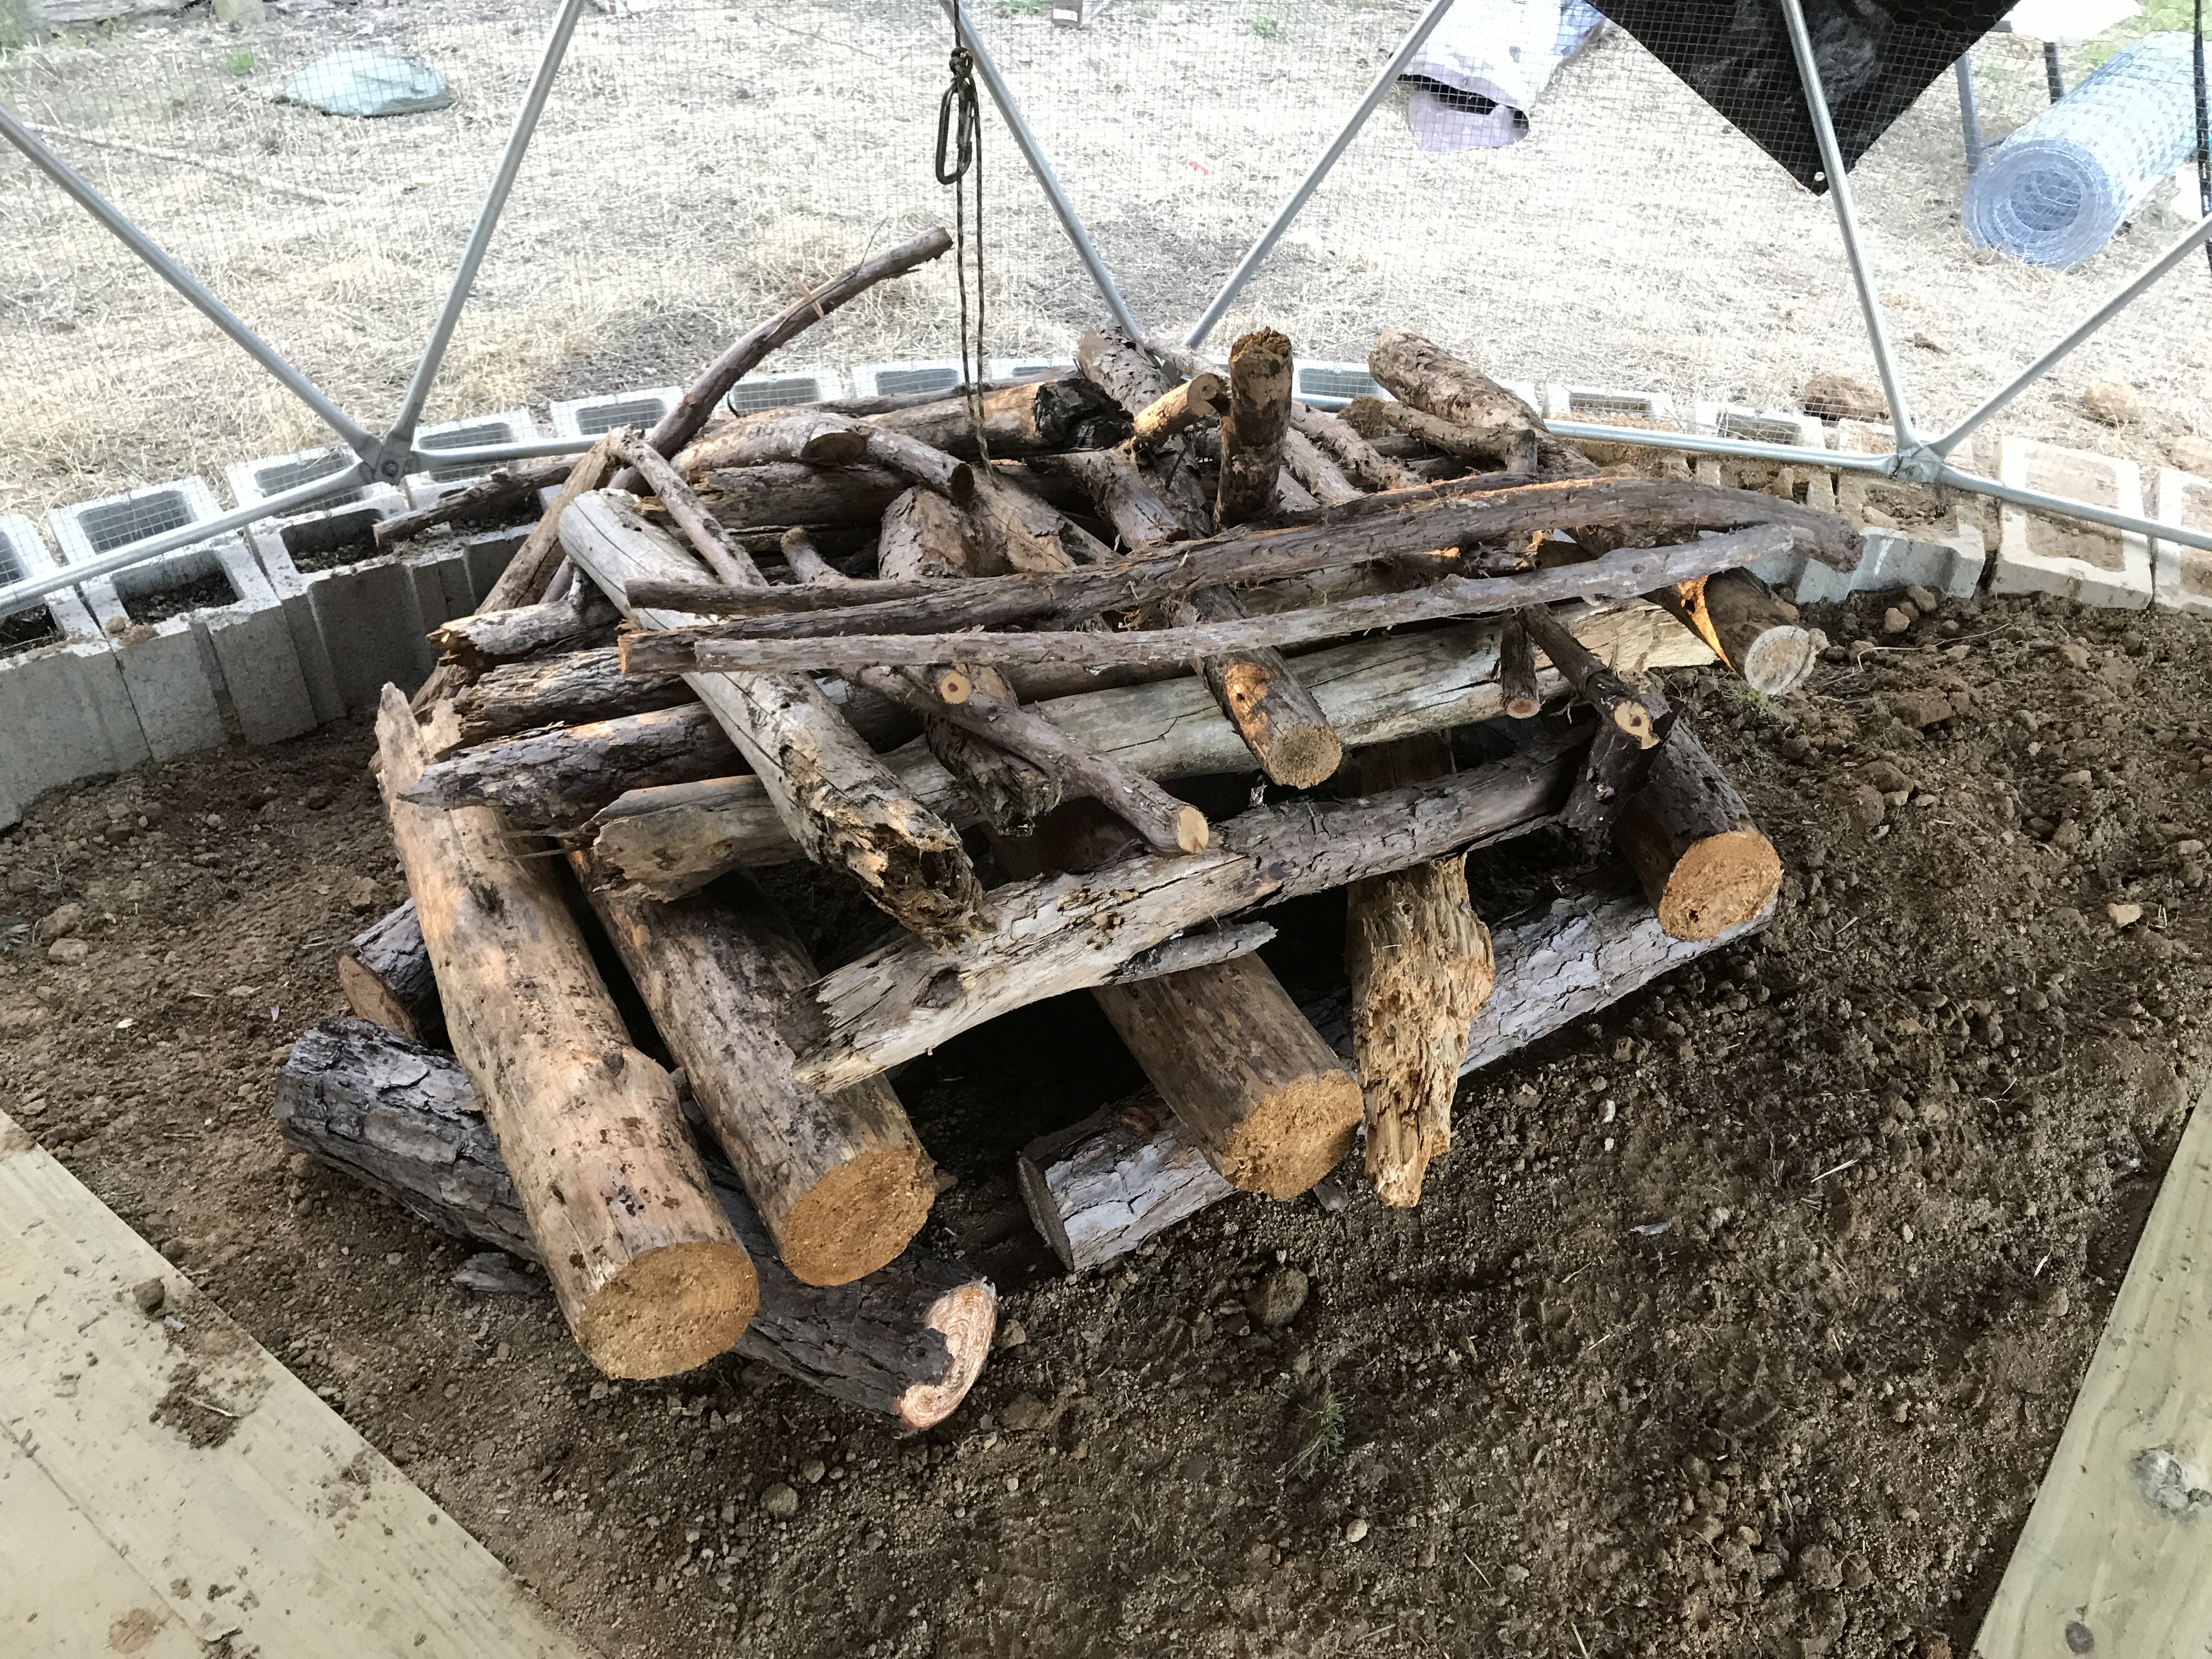
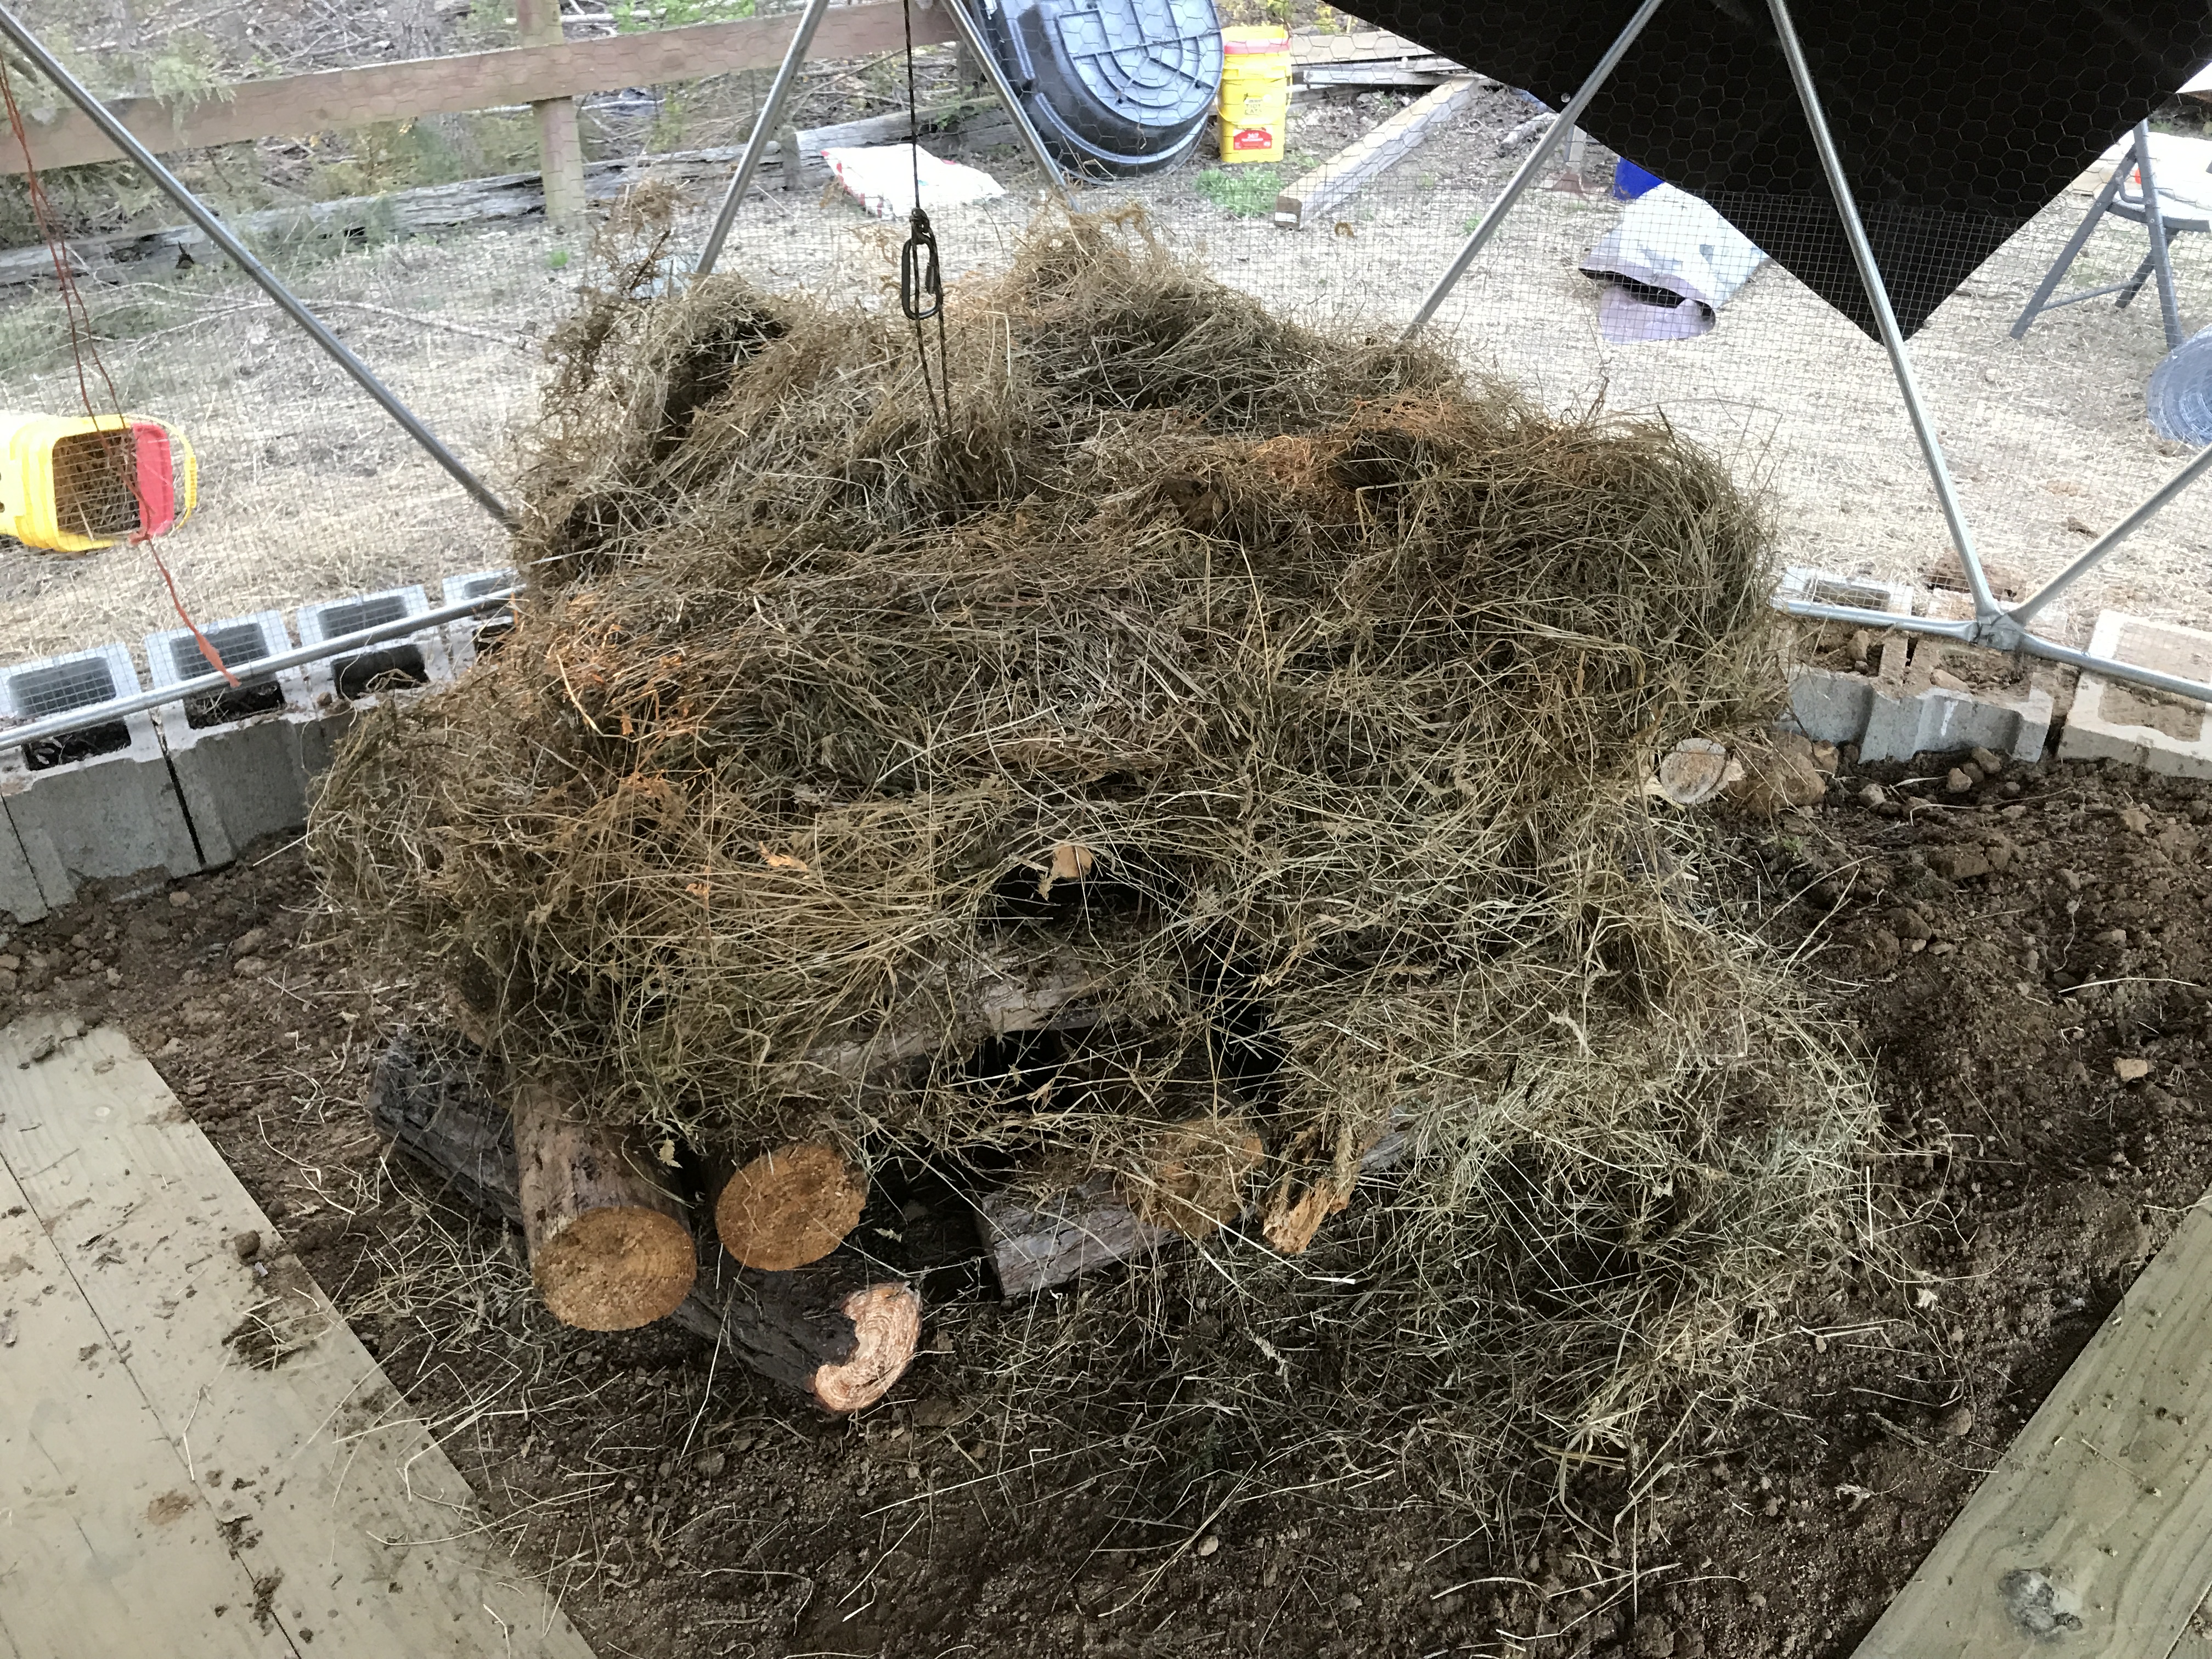
I built two 18′ (diameter) geodesic domes last year to raise livestock in. I started a rabbit colony in Dome 1, but it became clear the rabbits were trying to dig down to China, so I ripped out the floor of Dome 2, excavated down about 4 feet, wire meshed the bottom, added a raised platform and wood paths, then backfilled the dirt back into the dome. When completed, I migrated the whole rabbit colony from Dome 1 to Dome 2.
In less than a year, the rabbit colony has grown from 4 (3 does, 1 buck) to somewhere around 40. I processed out all but one buck, but there’s still at least 30 in there, with two new litters added in the past few weeks.
So, I decided the time had come to refurbish Dome 1 to replicate the success of Dome 2.
Took me about 3 and half days to complete, pretty much working all day.
Here are a few videos and photos that document refurb process.
I read online the other day that donkeys don’t like getting wet, because their fur doesn’t repel water like a horse’s does.
So, I decided to convert the chicken tractor dome prototype into a new donkey shelter dome. Simple enough. First, I screwed two big auger anchors into the ground on opposite sides of the dome and bolted the dome to the anchors, so the dome can’t be moved by anything less than a Cat-5 hurricane.
Then, I removed a few struts to create a donkey door.
Lastly, I covered about 60-70% of the dome with a high-end (heavy duty) tarp, and used rubber straps and tarred twine to lash it down, so it won’t flap around (which apparently drives the donks nuts).
I watched the girls from afar for an hour or so, and they showed interest in the dome, but wouldn’t go inside. So, Hooey and I posted in the dome with a bag of peanuts and handful of carrots … and voila … instant donkey-in-a-dome. Got sort of crowded in there as the chicken flock opted to join us.
I also decided to hang a few donkey toys from an existing ridge line strung between two pasture trees, but Hooey destroyed the first toy in about 3 minutes flat … so I gave up.
I had to move a big pile of tree trimmings out of the way, then move a few pallets of stuff aside, to clear enough space to add the second 16′ length to the implement parking lot.
Then, it was just a matter of using the new pole boom implement to lift and ‘park’ all the implements that were scattered all over the place. Every time I pick up and move something as heavy and/or cumbersome as the PTO chipper/shredder (below), the boom pays for itself. 😉
Finally got all the equipment moved to ‘parking.’ Already filled all 32 feet of parking space … so I’ll have to extend it at some point in the future, because I still have a few implements I plan to purchase.
Hmmm, maybe I can figure out a way to design a double-decker parking structure and use the pallet forks to ‘park’ implements on the upper deck. Sounds like an interesting engineering challenge …
Every day should have at LEAST one whimsical project, me thinks.
Today, I had two. First, I setup a 12v pump and started draining the bigger pond so I can get it dried out and start excavating it to increase its size (both depth and surface area). I hope to have the pond project finished by early summer, so we can get it filled back in so Hooey can take her daily swims. That girl just LOVES to swim.
Next, I decided to build a ‘parking lot’ platform to ‘park’ my tractor implements and attachments when not in use. I really just want them up off the ground, in the same place, organized so I know where they are, and sheltered from the environment (precip + UV).
Came up with a quick design using concrete pylons and Weather Guard 2×4 joists to support 2×6 planks spaced about 6″ apart. Will end up being 32 feet long, 32 inches deep, and about 8 inches off the ground.
Got the lumber cut …
… and got the first 16 feet installed, but ran out of light, so we called it quits for the day.
On a whim, I bought 5 baby ducklings yesterday to add to the farm fam.
They will be in the barn brooder for 4 to 6 weeks, but I decided to get busy today transitioning the work-in-progress pond into a dedicated duck refuge.
Step 1 was to install a new 90 foot, 3-strand electric fence to keep the donkeys away from the pond area.
Had to teach myself a few new skills, and learned what a “spinning jenny” is and why you need one to make a 12.5 gauge wire fence.
Overall, not bad for my first such fence. I need to upgrade one of the terminal posts to add more rigidity to sustain the tension created by three tight wires all pulling in one direction. But, for now, I think it will keep the donks out of the pond, so I can start building out the ‘duck infrastructure.’
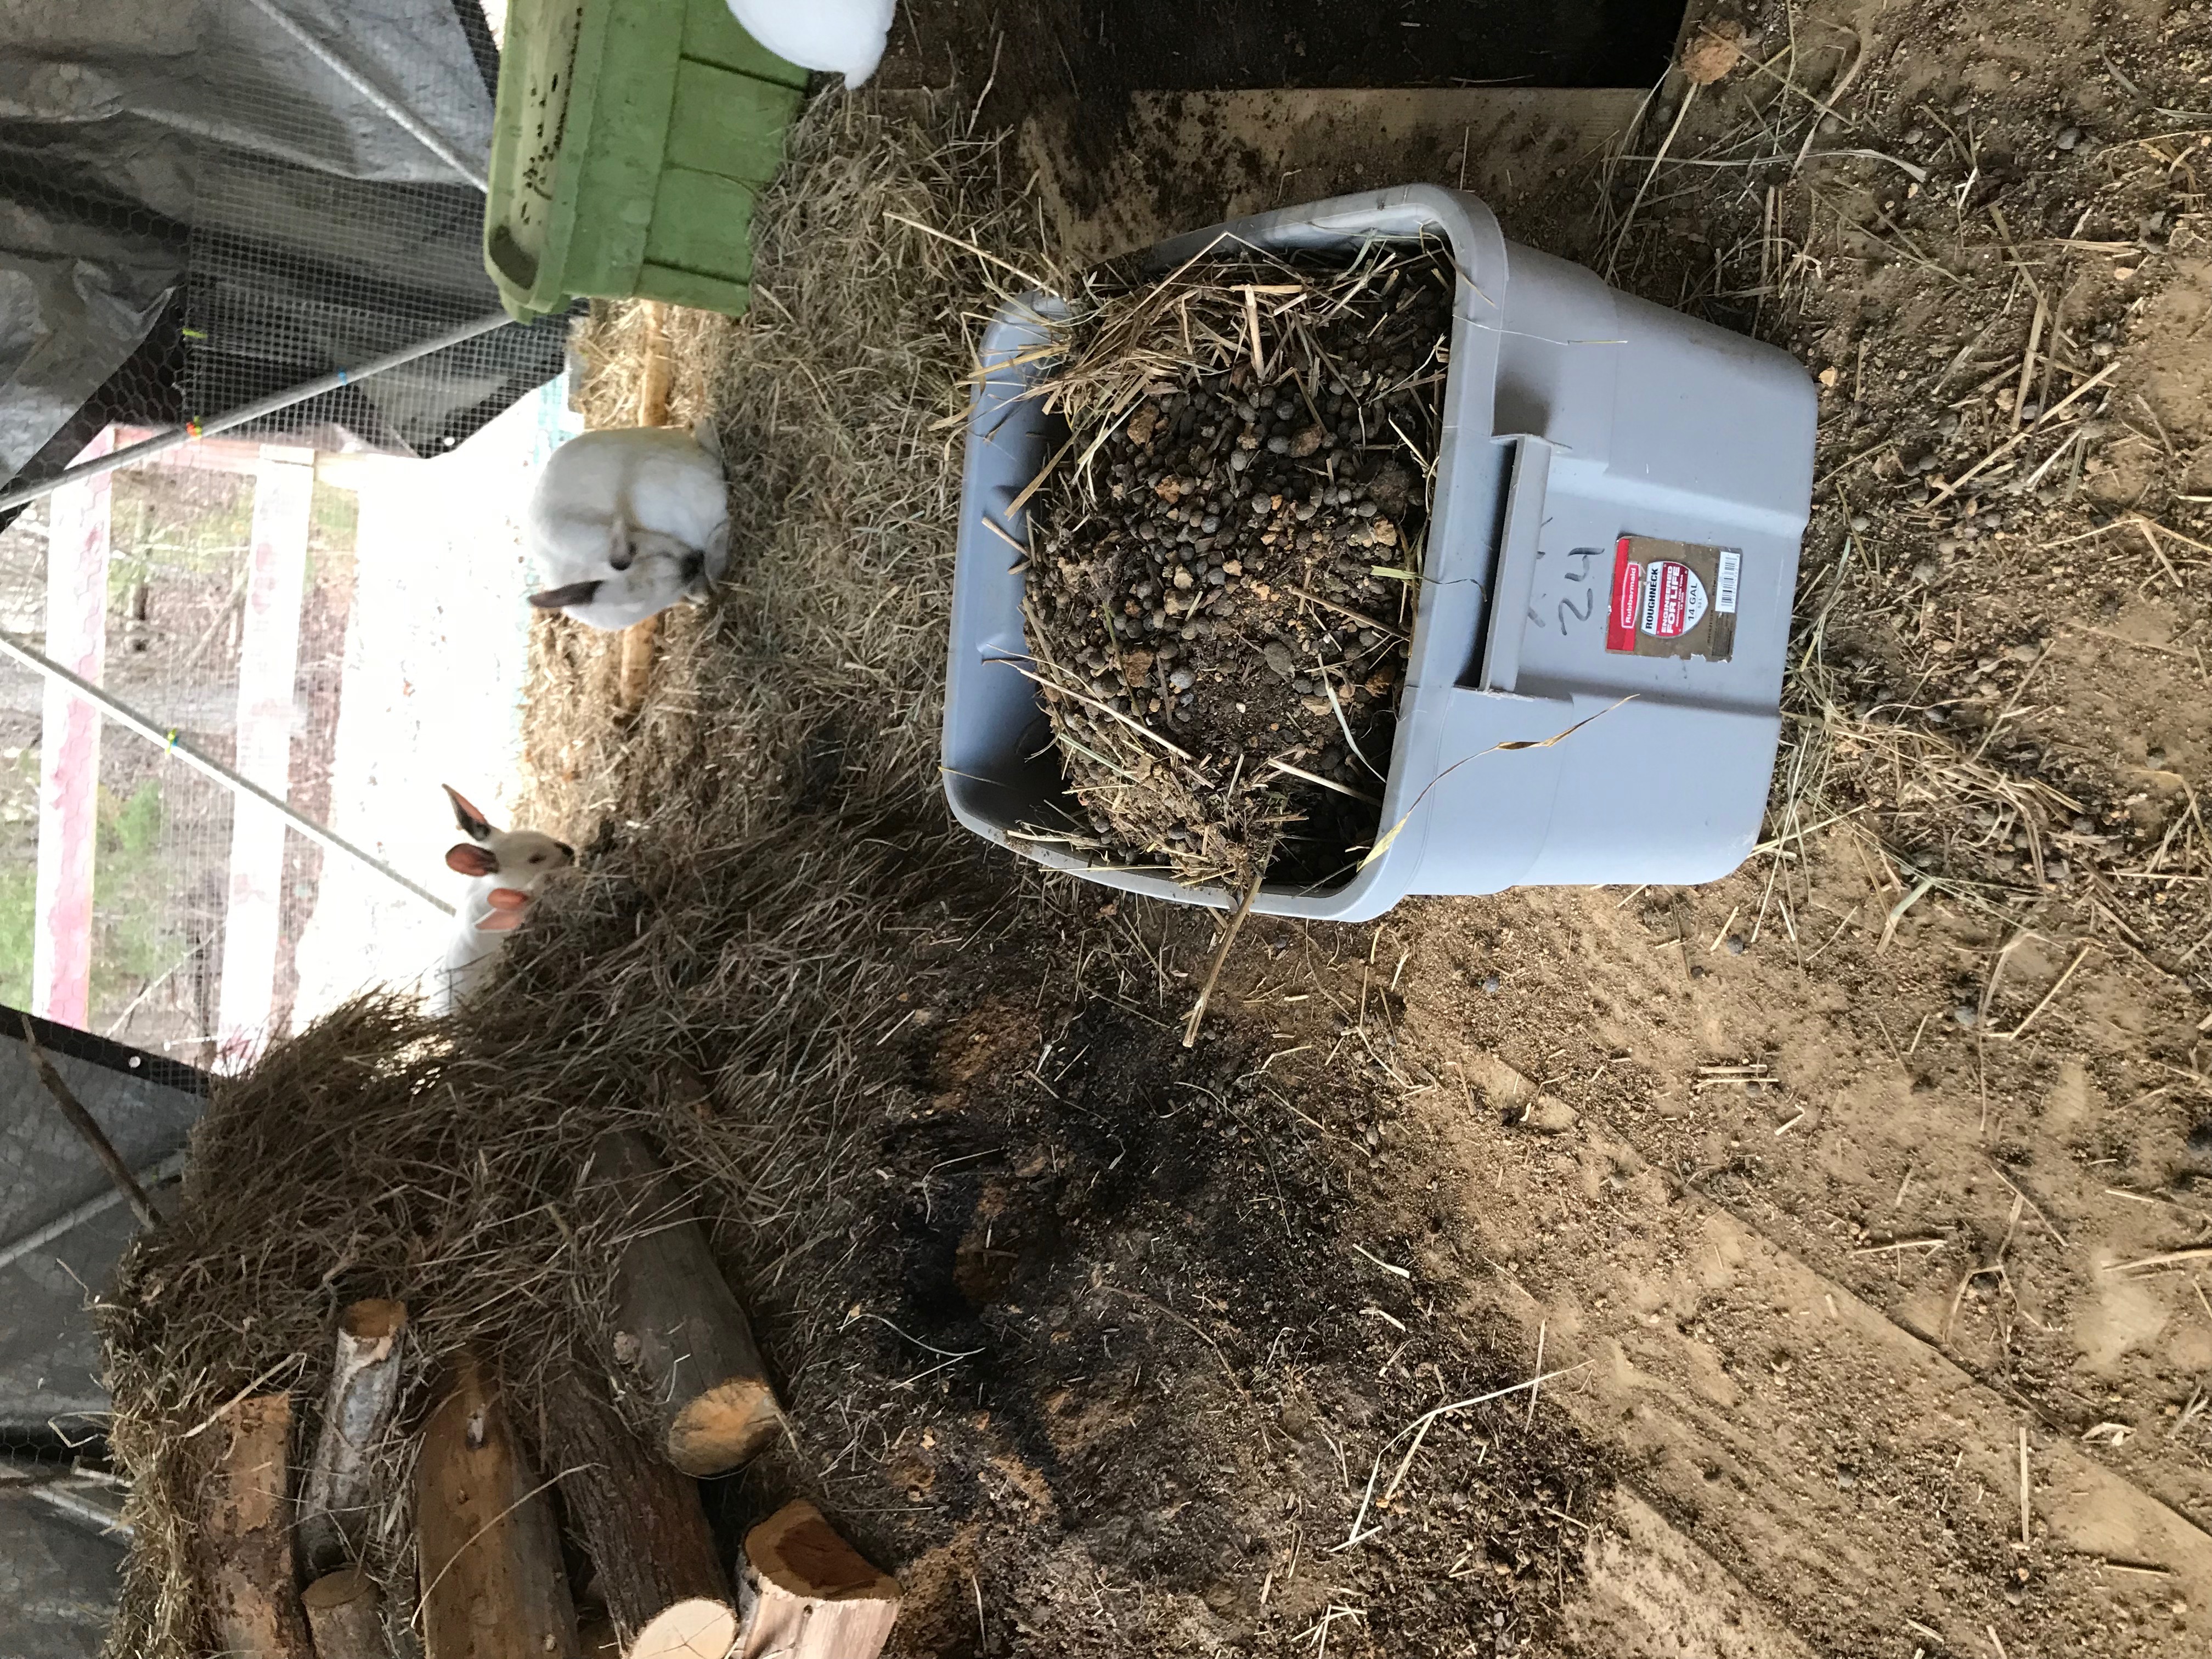
I generally de-poop the Dome 2 rabbitry every morning, and usually get about 14-15 gallons of new rabbit pellet manure per day.
Going to be literally SWIMMING in organic compost this (and every!) growing season, which ain’t a bad thing.
Best I can tell, there’s still only about 20 rabbits in the dome. As soon as they hit their reproductive maturity (any time now) I expect a few new litters of kits, which means it’ll be time to start thinning the herd.