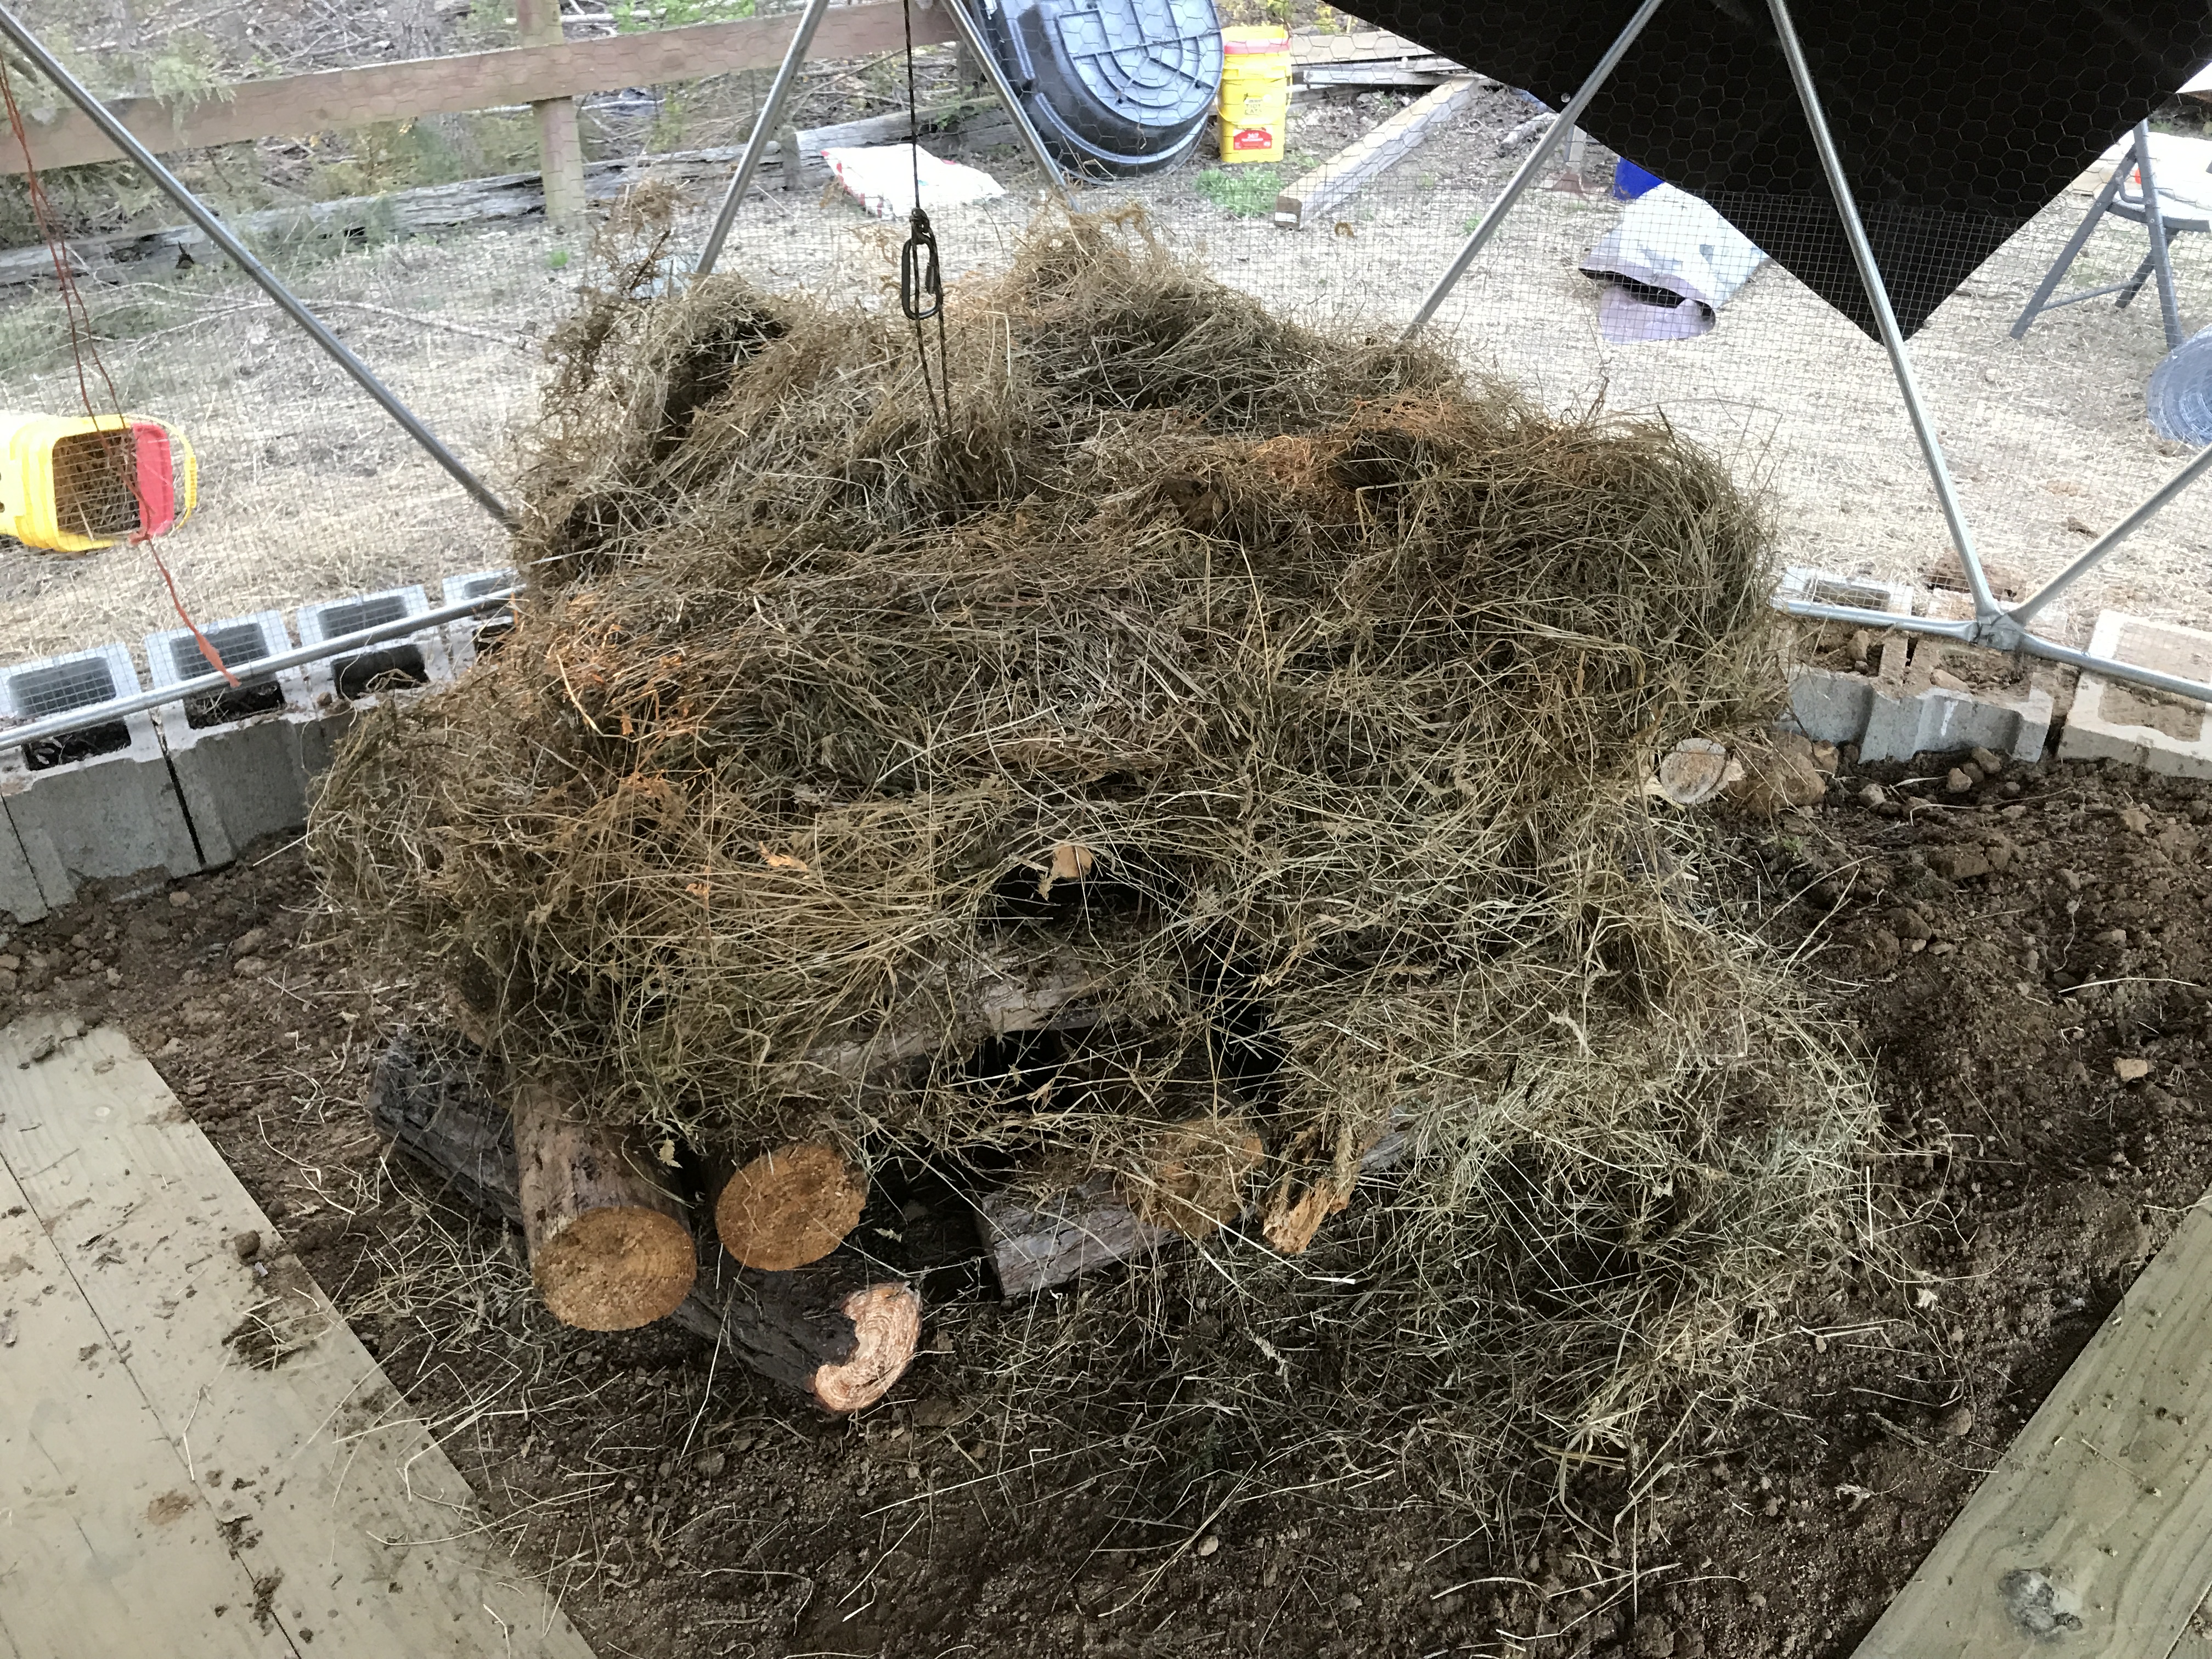
For one reason or another, I waited WAY too long to muck out the chicken (coop) stalls. The longer I pushed it out, the easier it became to find other things to do. However, the weather is starting to warm up, so I figured NOW was better than a week from now.
Admittedly, I was pleasantly surprised. When I let the donkey stall go a week or more “too long”, the price to pay is HIGH. Donkey urine just gets funkier by the day. However, the excessive chicken manure wasn’t stinky at all. Rather, it seems to have basically composted in place!
So, I filled the dumper/trailer with chicken compost and shoveled it right into the two perimeter gardens that surround both rabbit domes. Not saying this is a good composting strategy … but in the colder months, you can get away with a little bit of coop mucking procrastination. Now, in the hot months … forget it. It would be a fly haven.
Once I got all the compost shoveled into the two rabbit dome gardens, I was just a matter of firing up the BCS tractor and tiller to plow all that chicken compost into the garden soil.
I’m chomping-at-the-bit to start planting stuff, but I know damn well the chickens will just destroy anything I seed … so I need to either:
fence in the gardens, or
fence in the chickens!
Smart money would be to build a bunch of chicken ‘tractors’ and end their free-ranging days. Kill many birds with one stone (as it were).
I’m highly motivated to get the 5 ducklings out of the barn and into their duck pond enclosure. They are really messy and can really stink up the barn, so OUT they go! 😉
I plan to build a much more elaborate duck house once I get the big pond done later this year. For now, I converted a dog crate into a temporary duck house by building a raised platform beneath, a cover for the top, thermal insulation on the top and two sides, and adding an access ladder to the duck can waddle their cute (but stinky) little butts directly from the pond to the house, and back.
Interestingly enough, I put the ducks in the house and locked it for about an hour. Then I opened it so they could go play in the pond. But, 2 or 3 hours later when I checked, they hadn’t left the house. That’s odd. I’m guessing by morning they’ll be ready to hit the beach.
Converted an old dog crate into a covered, thermally insulated duck house that should suffice through Fall.
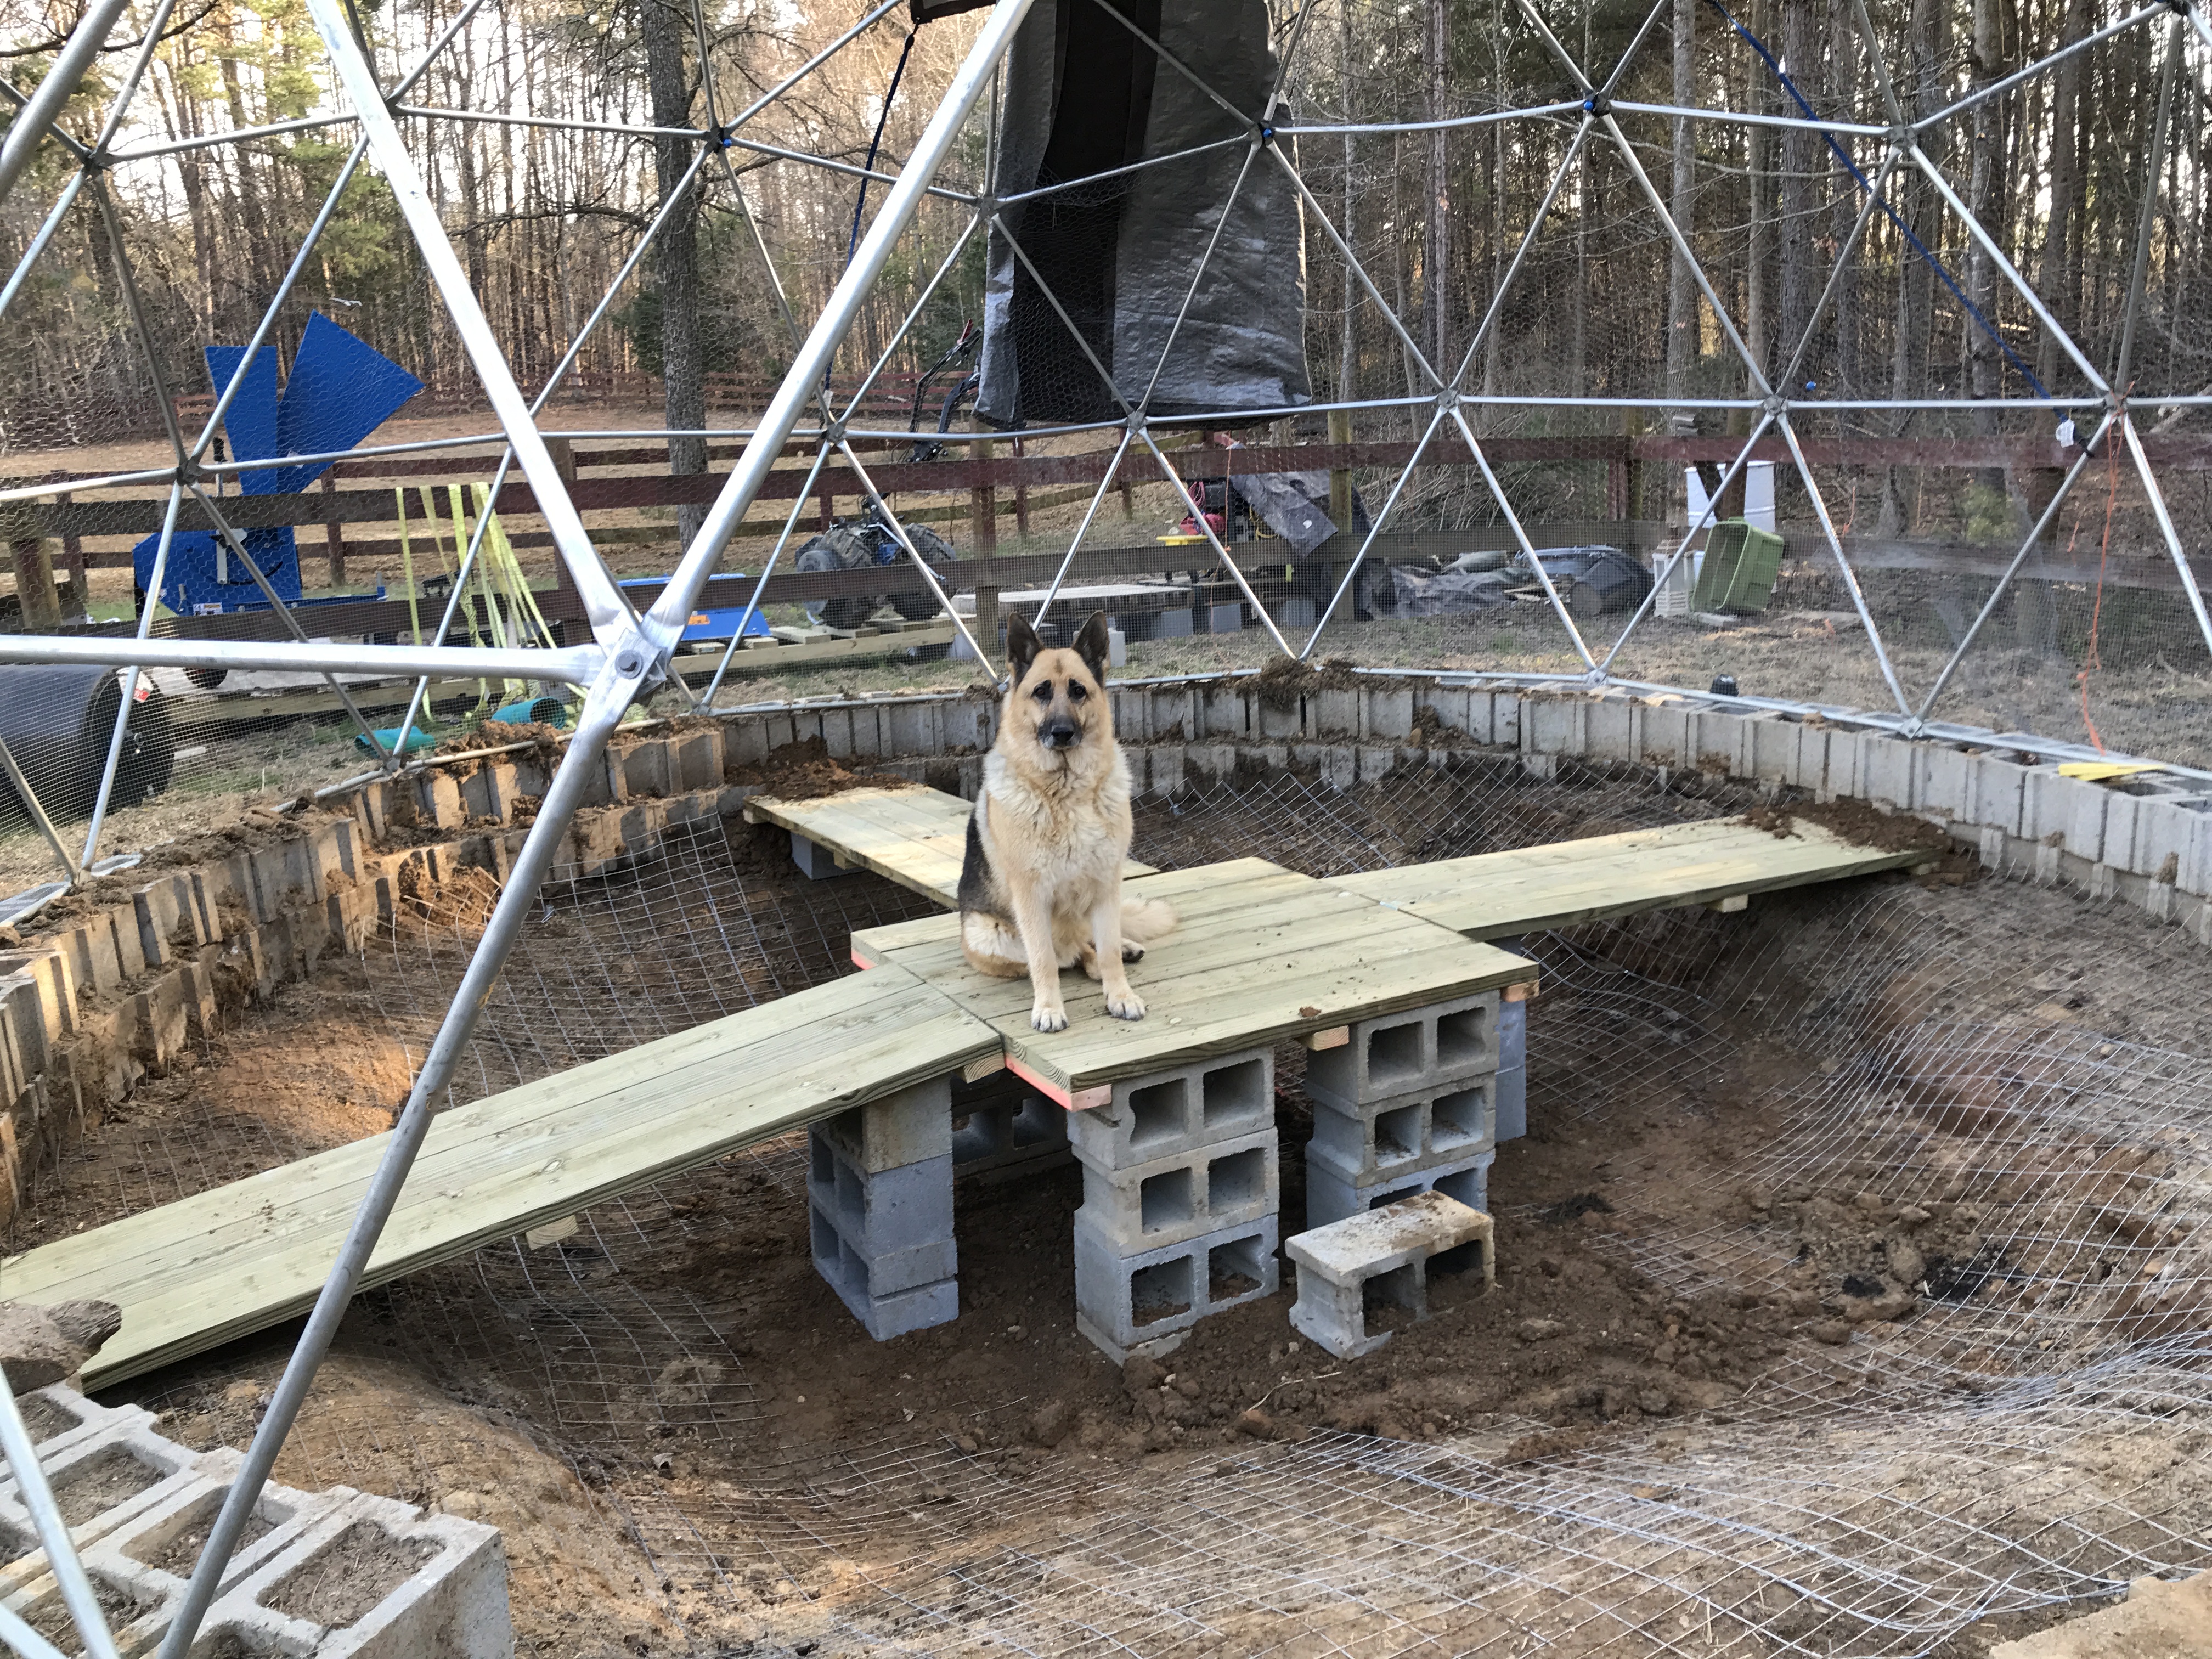
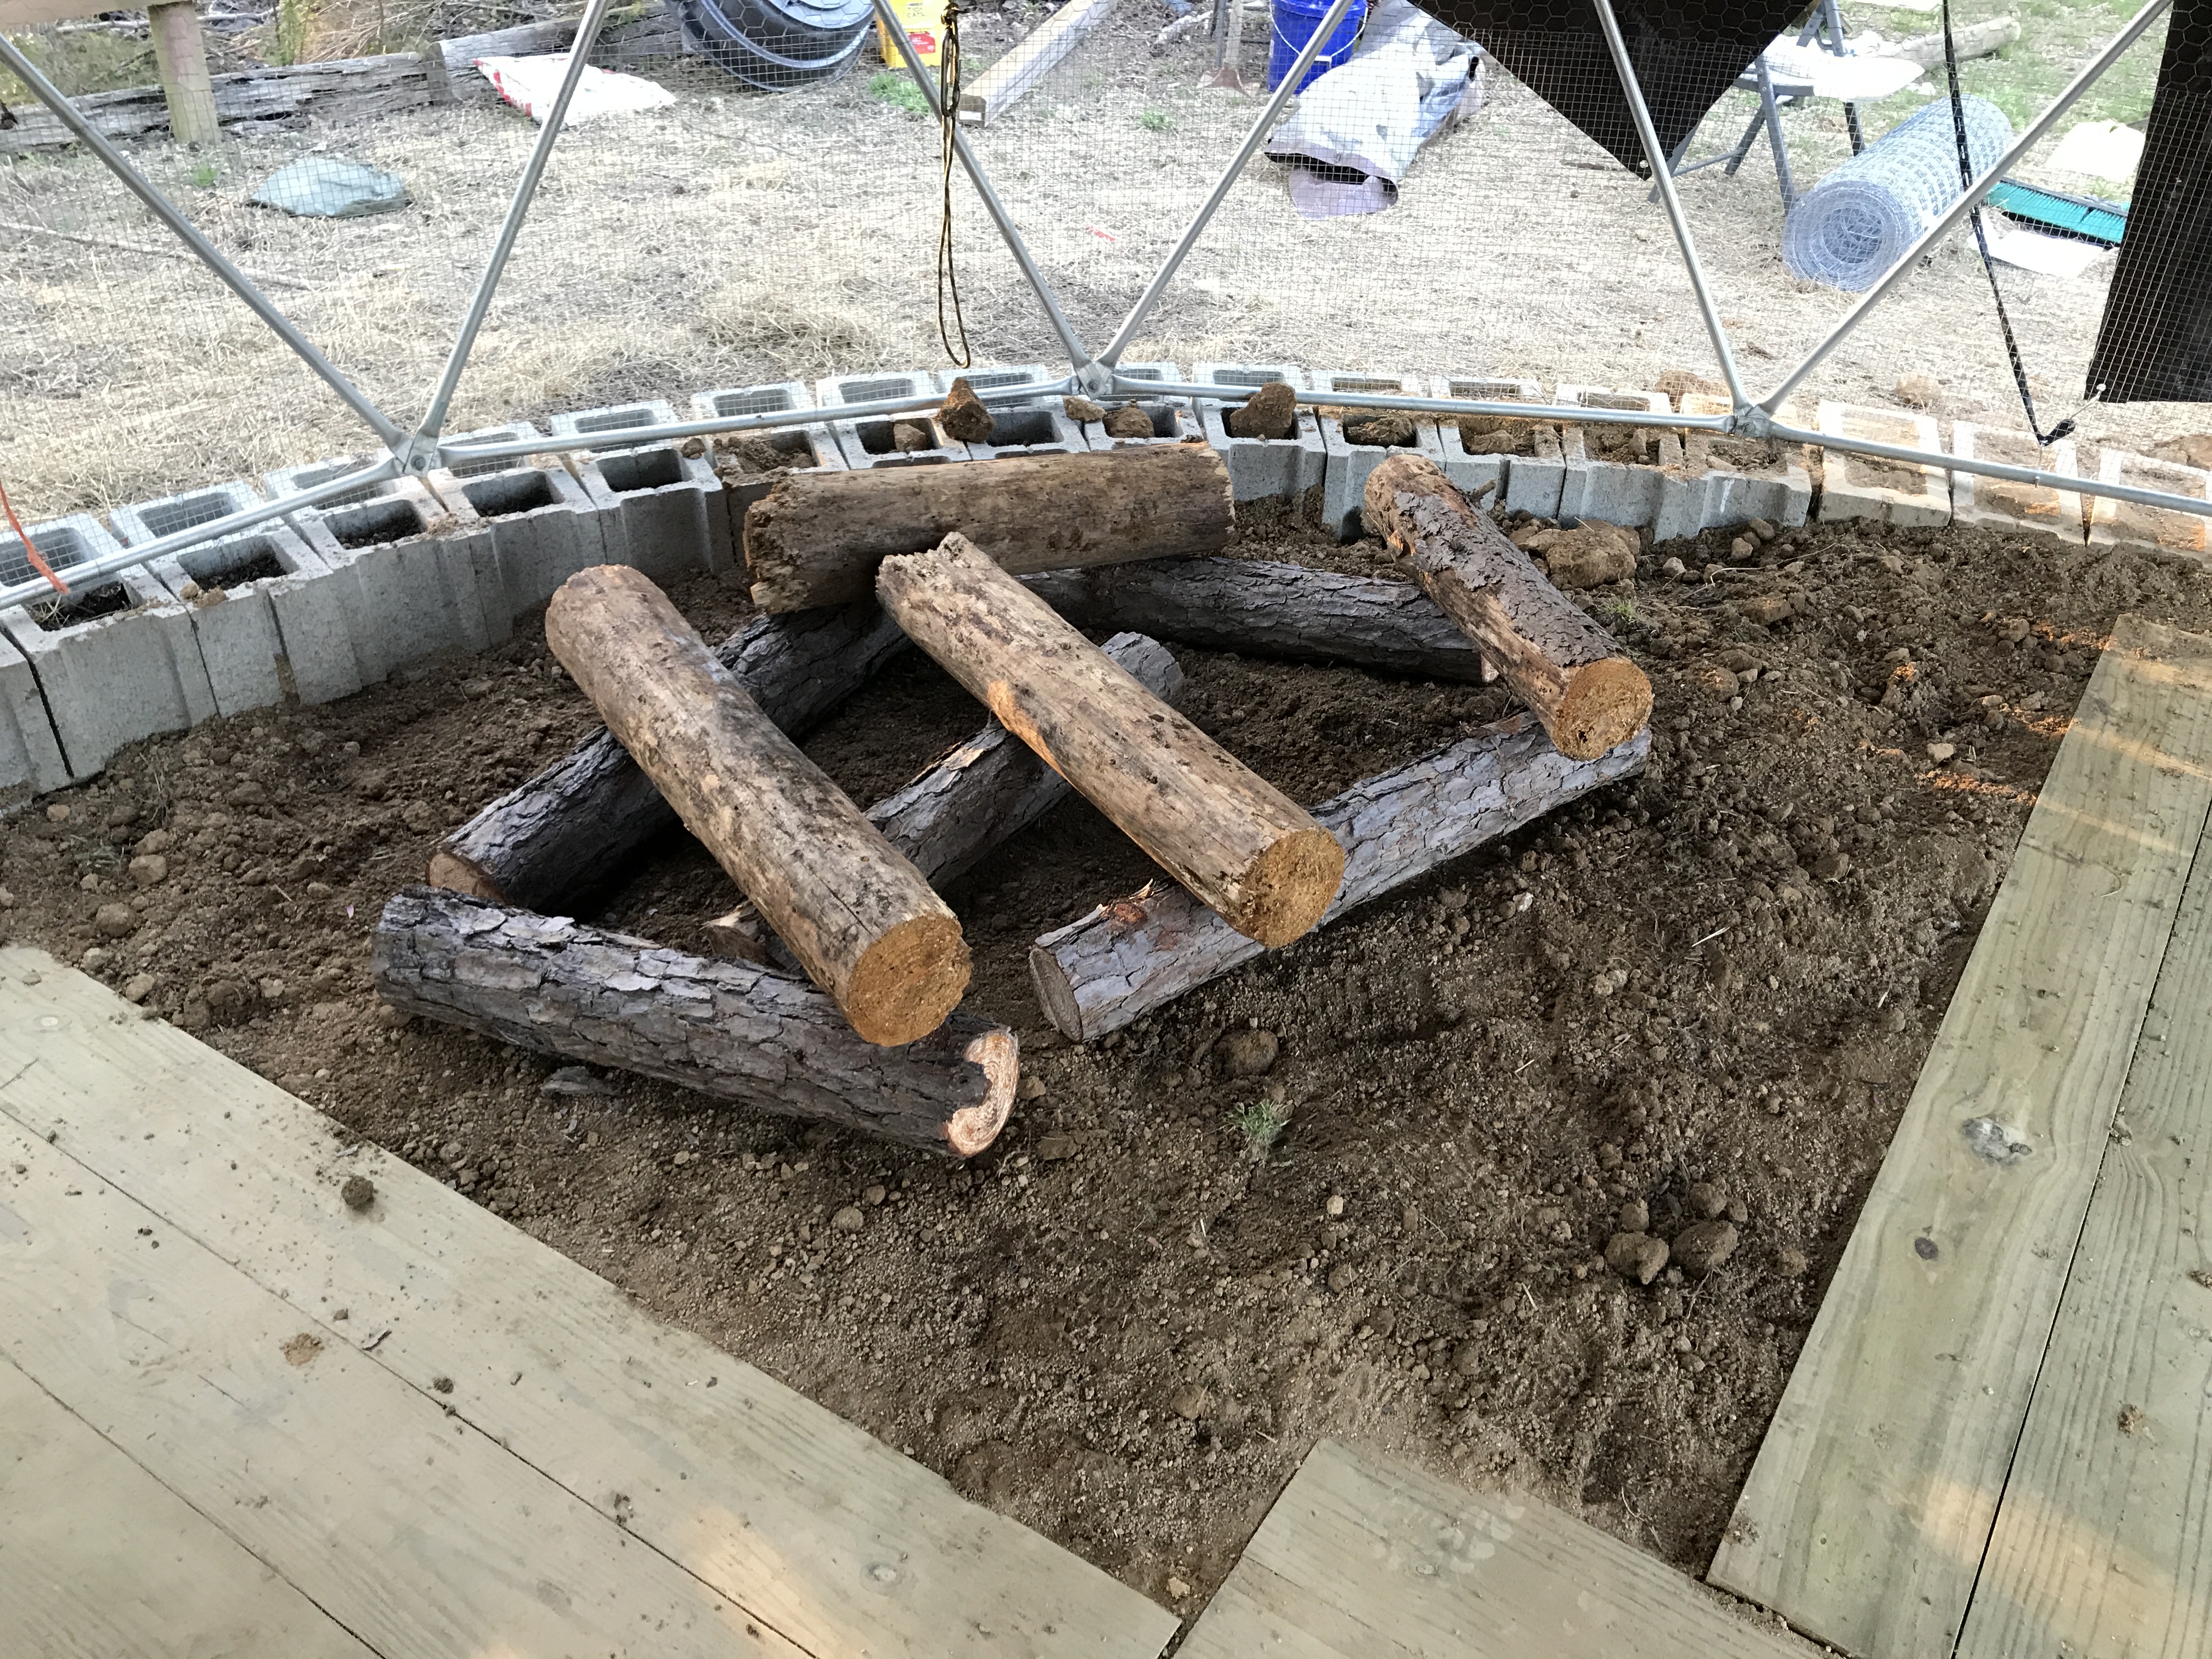
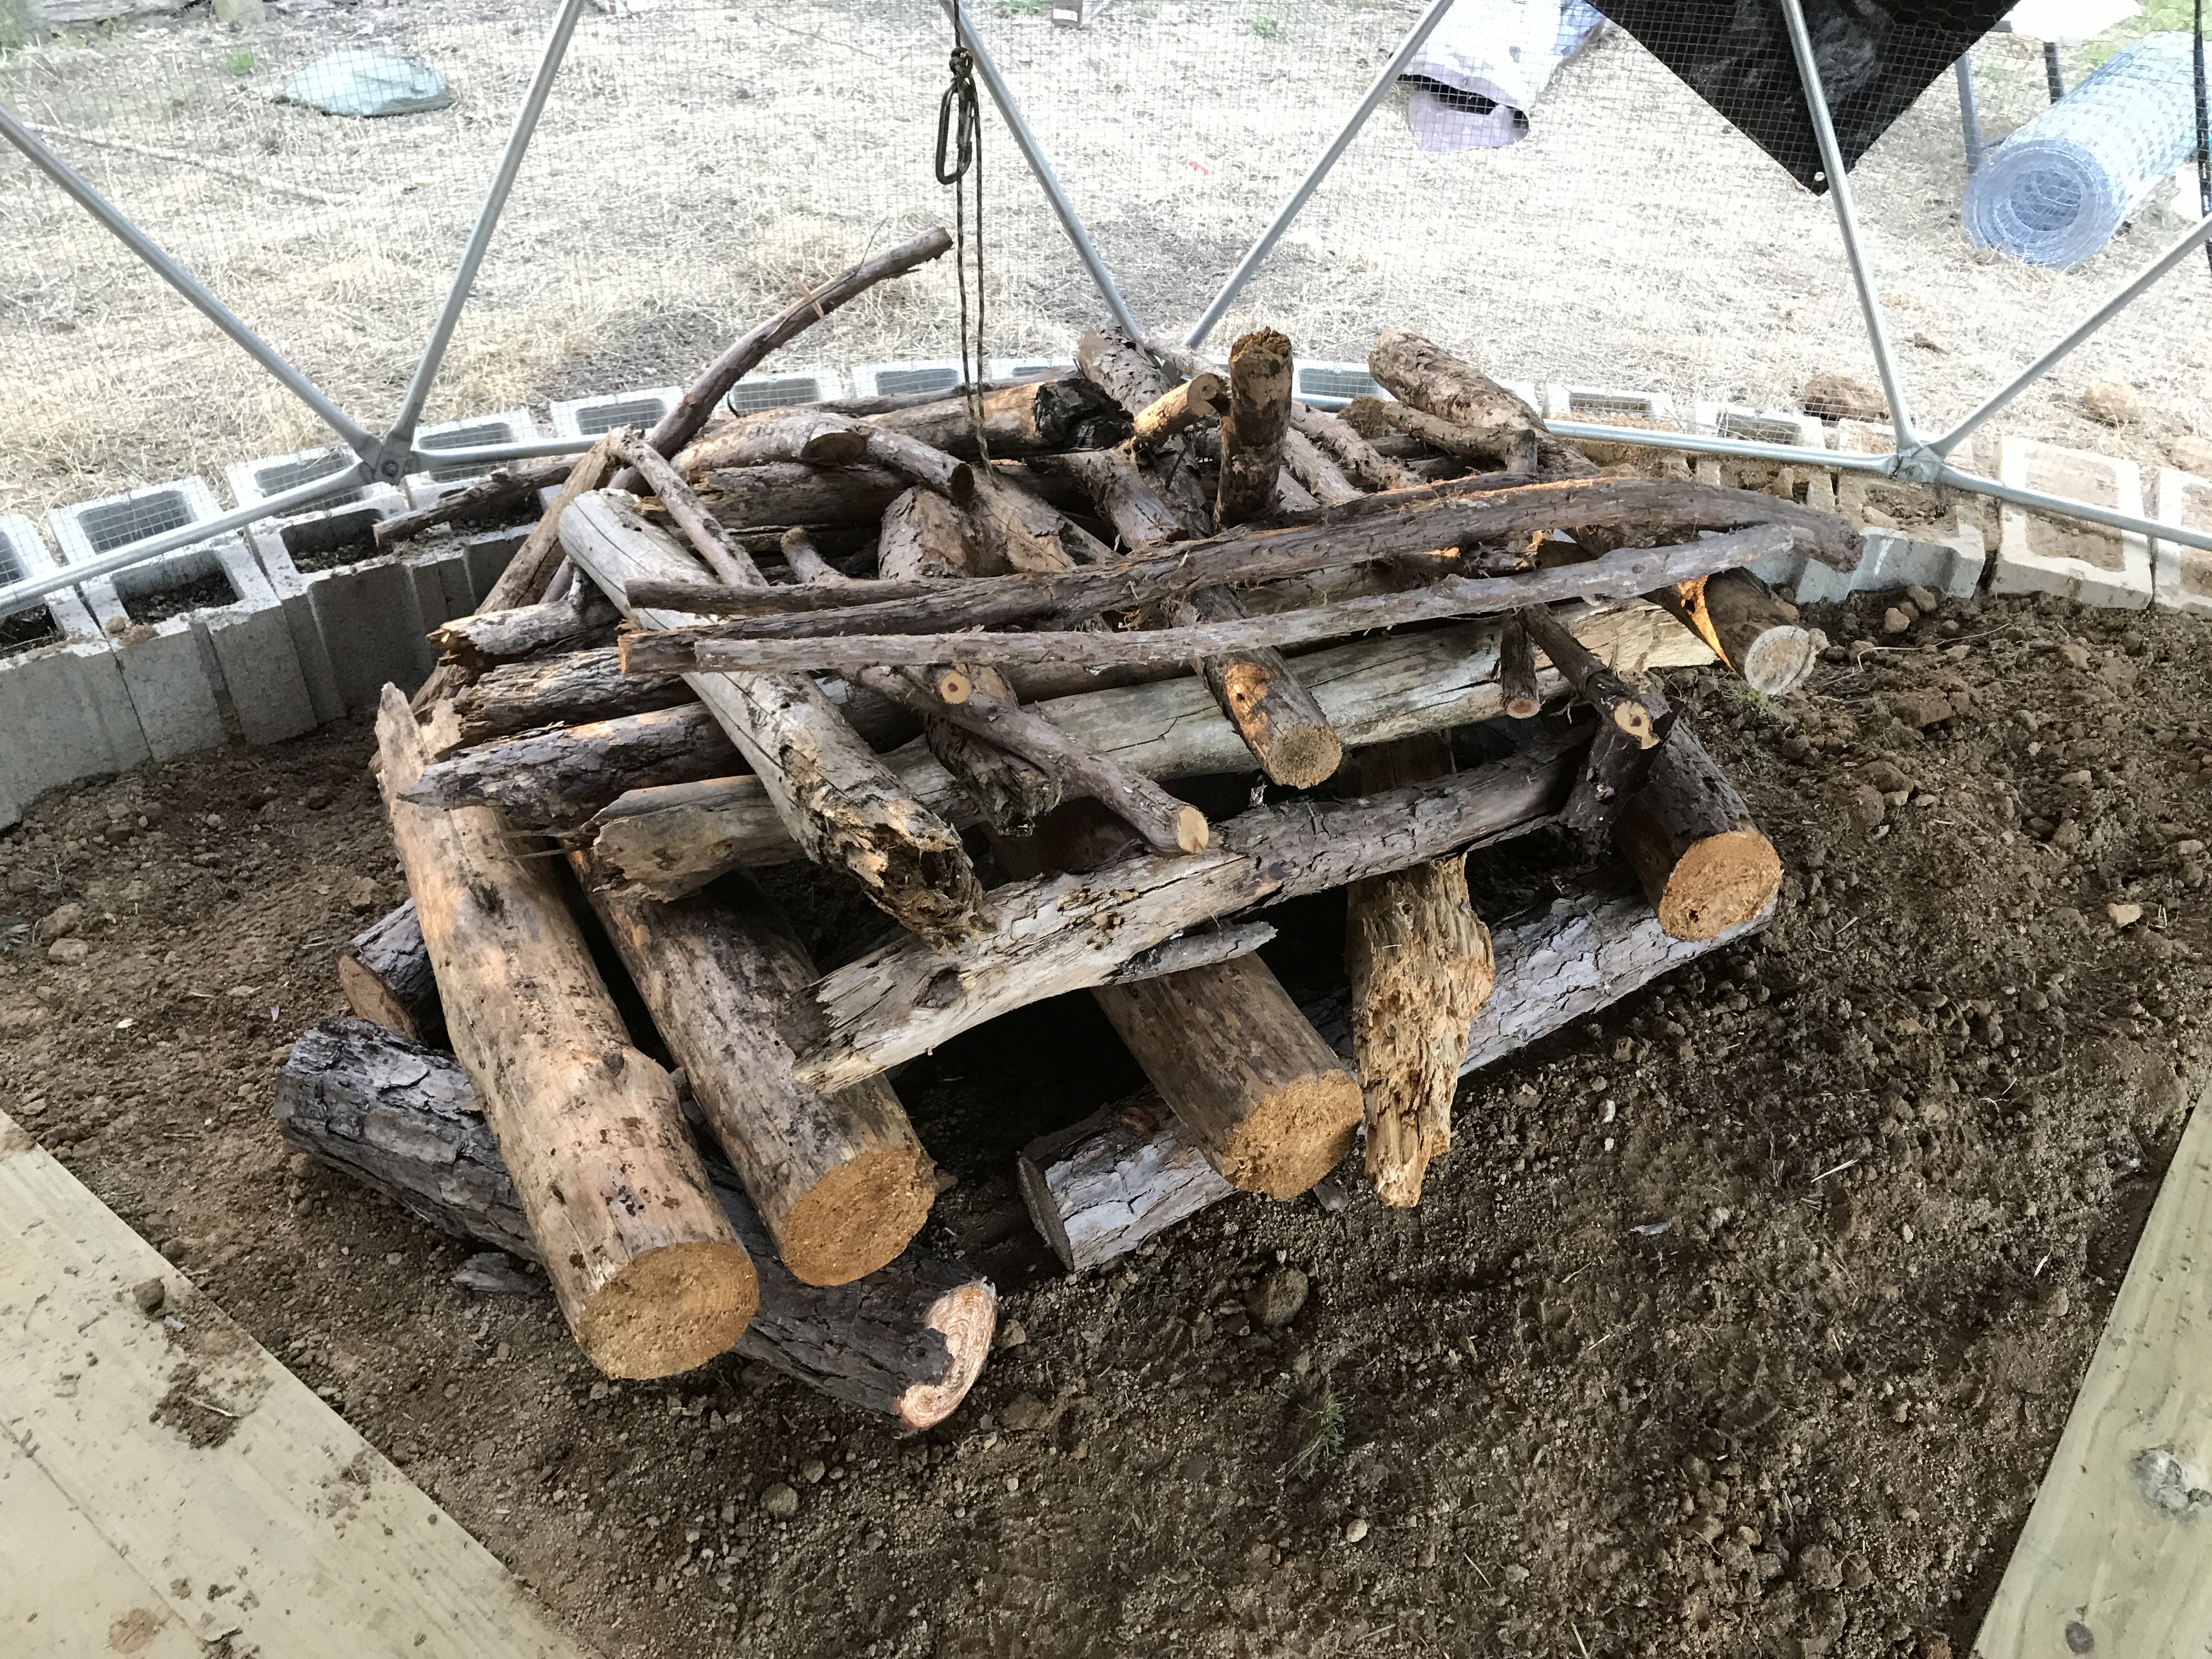
I built two 18′ (diameter) geodesic domes last year to raise livestock in. I started a rabbit colony in Dome 1, but it became clear the rabbits were trying to dig down to China, so I ripped out the floor of Dome 2, excavated down about 4 feet, wire meshed the bottom, added a raised platform and wood paths, then backfilled the dirt back into the dome. When completed, I migrated the whole rabbit colony from Dome 1 to Dome 2.
In less than a year, the rabbit colony has grown from 4 (3 does, 1 buck) to somewhere around 40. I processed out all but one buck, but there’s still at least 30 in there, with two new litters added in the past few weeks.
So, I decided the time had come to refurbish Dome 1 to replicate the success of Dome 2.
Took me about 3 and half days to complete, pretty much working all day.
Here are a few videos and photos that document refurb process.
Woke up, had coffee, did my “situational awareness” routine (scanning online resources), then decided to get to work on the woodlot thinning project. About 8 hours later, Jacuzzi time, then early to bed. LONG day.
Rigged the boom implement to ‘choke’ a bunch of smaller limbs and saplings to see how well it would ‘skid’ them. Worked great.
Then, choked and skidded a much larger load to test the boom lifting capacity. Not even close to maximum lifting capacity.
Felled and skidded the first few roughly 10 inch diameter trees. Limbed them, then lifted them with log tongs mounted to the end of the boom. Again, easy work.
Maneuvering the long logs out of the woods, around the barn, through pasture gates, and into the terminal area for processing into firewood was really quite easy, as the tongs articulate in two axes to allow the log to be directionally steered.
I’ve lost count of how many times this has happened. A big ass tree starts to fall, then gets hung up in a set of relatively small branches above, which arrests the fall. Frustrating, to say the least. Dangerous too. I end up having to choke the bottom of the log and pull it out with the boom with a LONG length of chain, because you never know which direction the tree will actually fall.
Piling up the logs out in the big pasture next to the burn pit, to be further processed into firewood and/or wood chips.
Tried my hand at doing a few “plunge cuts.” First you cut the front notch, then you run the chainsaw bar straight into and through the tree. Once through, you clean up the “hinge” and then work backwards to leave just a small “back strap” opposite the direction of intended fall. In this case, I guess my hinge wasn’t far enough back, and the tree sat back and pinned the saw blade. Used a rope and Trucker’s Hitch knot to pull the tree off the saw bar so I could pull it out.
I’m still a novice tree feller, learning as I go. I’m getting better at falling trees according to plan (e.g. direction of fall), but still about half the time the tree falls off target. In this case, two consecutive cuts fell the exact opposite direction of intention, and went right through the pasture fence top rails. I think I was getting both physically and mentally tired, so I pretty much put the saw away after these two SNAFUs, before someone got hurt.
Had two trees fall the wrong direction and take out a few pasture fence rails. No biggie.
I read online the other day that donkeys don’t like getting wet, because their fur doesn’t repel water like a horse’s does.
So, I decided to convert the chicken tractor dome prototype into a new donkey shelter dome. Simple enough. First, I screwed two big auger anchors into the ground on opposite sides of the dome and bolted the dome to the anchors, so the dome can’t be moved by anything less than a Cat-5 hurricane.
Then, I removed a few struts to create a donkey door.
Lastly, I covered about 60-70% of the dome with a high-end (heavy duty) tarp, and used rubber straps and tarred twine to lash it down, so it won’t flap around (which apparently drives the donks nuts).
I watched the girls from afar for an hour or so, and they showed interest in the dome, but wouldn’t go inside. So, Hooey and I posted in the dome with a bag of peanuts and handful of carrots … and voila … instant donkey-in-a-dome. Got sort of crowded in there as the chicken flock opted to join us.
I also decided to hang a few donkey toys from an existing ridge line strung between two pasture trees, but Hooey destroyed the first toy in about 3 minutes flat … so I gave up.
I had to move a big pile of tree trimmings out of the way, then move a few pallets of stuff aside, to clear enough space to add the second 16′ length to the implement parking lot.
Then, it was just a matter of using the new pole boom implement to lift and ‘park’ all the implements that were scattered all over the place. Every time I pick up and move something as heavy and/or cumbersome as the PTO chipper/shredder (below), the boom pays for itself. 😉
Finally got all the equipment moved to ‘parking.’ Already filled all 32 feet of parking space … so I’ll have to extend it at some point in the future, because I still have a few implements I plan to purchase.
Hmmm, maybe I can figure out a way to design a double-decker parking structure and use the pallet forks to ‘park’ implements on the upper deck. Sounds like an interesting engineering challenge …
Every day should have at LEAST one whimsical project, me thinks.
Today, I had two. First, I setup a 12v pump and started draining the bigger pond so I can get it dried out and start excavating it to increase its size (both depth and surface area). I hope to have the pond project finished by early summer, so we can get it filled back in so Hooey can take her daily swims. That girl just LOVES to swim.
Next, I decided to build a ‘parking lot’ platform to ‘park’ my tractor implements and attachments when not in use. I really just want them up off the ground, in the same place, organized so I know where they are, and sheltered from the environment (precip + UV).
Came up with a quick design using concrete pylons and Weather Guard 2×4 joists to support 2×6 planks spaced about 6″ apart. Will end up being 32 feet long, 32 inches deep, and about 8 inches off the ground.
Got the lumber cut …
… and got the first 16 feet installed, but ran out of light, so we called it quits for the day.
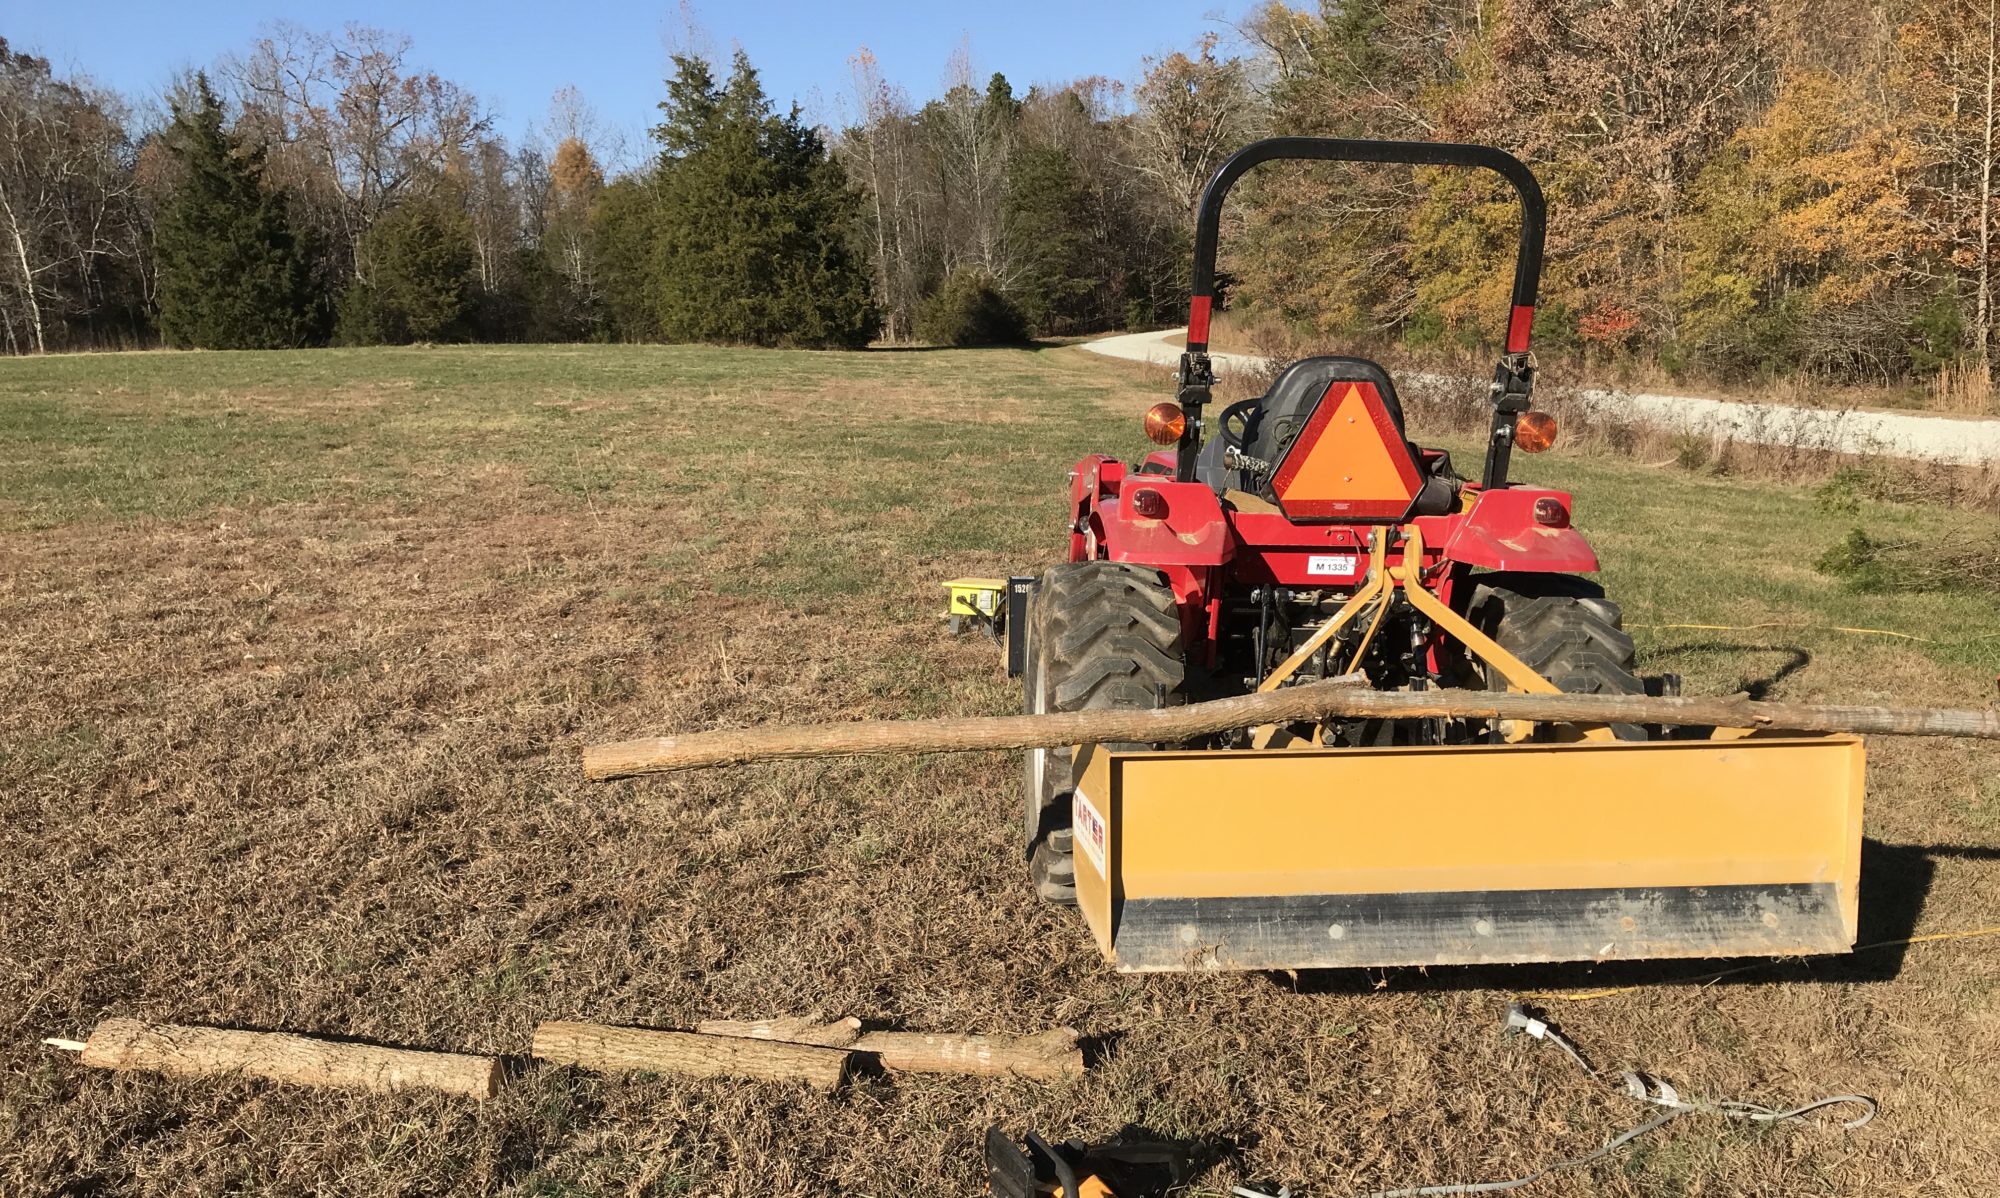
Since I had to drive all the way to Danville VA this morning to pickup a new 3-point subsoiler/ripper implement, I took the opportunity to also pick up the only Tarter / County Line Heavy-Duty Pole Boom implement available “in store” in the greater NC / VA area.
Besides being able to lift 2000 pounds, it is strong enough to suspend that much weight while the tractor is transports the item to and fro on the farm.
Also, and perhaps more importantly, I only need to add one item not currently in inventory (log tongs) to convert the boom into a robust log skidding platform to drag huge trees or mongo piles of brush out of the woods for processing.
From what I learned reading many other small farm “how to’s” … there are a million-and-one uses for a boom with that much lifting capacity on a farm.
Got a lot of clay busting work done with the BCS walk-behind tractor yesterday, but woke up this AM with a HUGE bruise on my right thigh from wrestling to keep the tractor straight and moving forward through the clay.
So, Hooey and I took a road trip this morning up to Danville VA to pick up a new 3-point subsoiler/ripper implement for the Mahindra tractor.
When the 3-point hitch is lowered, the shank of the subsoiler digs down about 2 feet deep into the ground. I was surprised the tractor could actually pull the blade through the thick clay at that depth. It struggles to do so, but get’s ‘er done.
Yesterday, I decided … on a bit of a whim … to till up the barn pasture and reseed it.
Step 1: Get the donkeys out of the pasture. I had to sink my first pasture fence post to reinstall the main pasture gate on the “big pasture”, which wasn’t all that hard, just took some time. Once the gate was back up, and a fence plank or two mended on the far end of the pasture (because Luna will find and exploit ANY perimeter weakness to escape and make me chase her ass down … it’s a GAME to her!), I bridled up the girls and moved them into the big pasture. They are VERY happy there … 10 times as much room to run, and a LOT for forage grasses to fatten up on.
Step 2: De-Donkify the barn pasture. Those damn donks left a big ol’ mess in the barn pasture. Toys. Limbs they pulled out of the trees. Other items they snatched from somewhere, and destroyed (e.g. the barn boom box).
I fired up the BCS 853 (diesel) walk-behind ‘tractor’ with the tiller attachment and tilled about half the pasture yesterday. In doing so, I noticed that in about half the pasture, the soil was overly compacted clay (hardpan) that kept the tiller from sinking down more than about 3-4 inches in some area.
So, this AM, I swapped out the tiller attachment for a rotary plow and gave that a shot. No joy! It, too, just glanced off the underground clay layer. Couldn’t get down through the clay.
Oh yeah … I still had one more arrow in my BCS attachment quiver and pulled out the ol’ subsoiler/ripper. I ran one line across the middle of the pasture and discovered just how thick and deep the clay layer was. I was able to get under it and rip it up, but I had to wrestle with the BCS a LOT to keep it moving forward, even with the axle locked. Me being me … I took a break and went to do some web research. Surely there must be a similar subsoiler/ripper available as a 3-point implement that I can hitch up to the Mahindra and just slice and dice the pasture in less than an hour. Yup, for about $300, and available at both Tractor Supply and Souther States … but they are both closed for Easter. Doah!
Fine. I’ll do it ‘by hand’ with the BCS I thought.
About … umm … 8 hours later, I finished ripping the whole pasture, both directions, then going back over it with the tiller to reduce the big-ass clay ‘boulders’ to ping-pong ball size or smaller. I’ve got bloody blisters on both hands, can’t raise my hands up high enough to enjoy a well-deserved adult beverage, and need Hooey’s help to climb into the Jacuzzi (later) … but I got the damn thing DONE.
On one of my breaks, I did some research and found that what I’m looking to do is often called pasture restoration … basicall resetting a failed pasture back to health and vitality. Takes about a year.
Now that I have it ripped and tilled, I’ll do some soil quality testing to see what and how much soil amendments I might need to add (e.g. lime). I can tell already that I’m going to need a lot of OM (organic material) to transition from heavy clay to more of a desired loamy state … so I see a dump truck load of compost in my near-term future. Then, I’ll likely plant some sort of early ‘green manure’ crop (probably clover), till it into the soils in a few months, then plant a nice pasture grass mix of some sort. No donkeys allowed until next Winter freeze, so the girls will have to make do in the big pasture for about 9 months. I don’t see them complaining. 😉
And, while I was flying the drone to document the pasture work, I shot some footage of the ducklings on their 4th day out in their temporary enclosure (weather/temperature permitting).